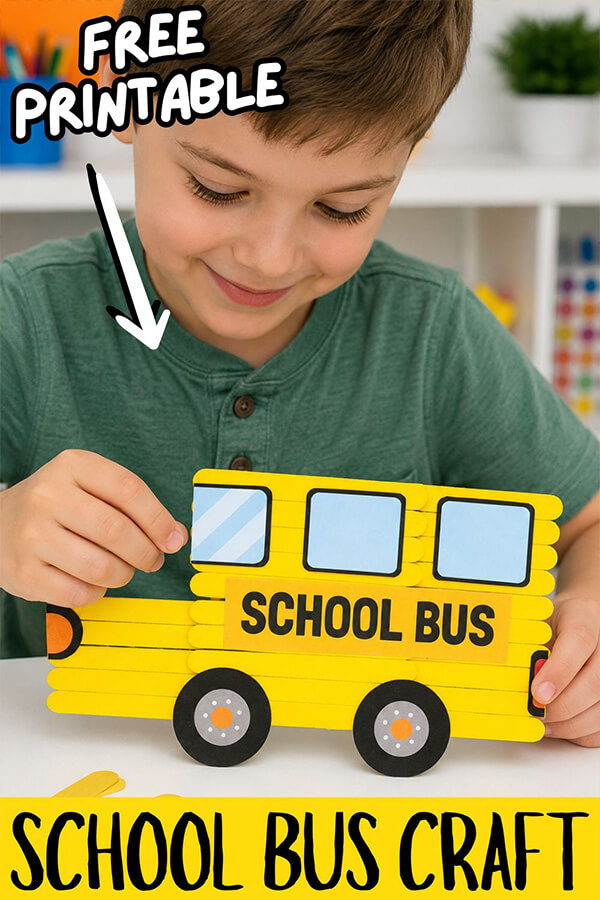
If you’re looking for a simple project to get kids excited about heading back to the classroom, this Popsicle Stick School Bus is such a fun one to try.
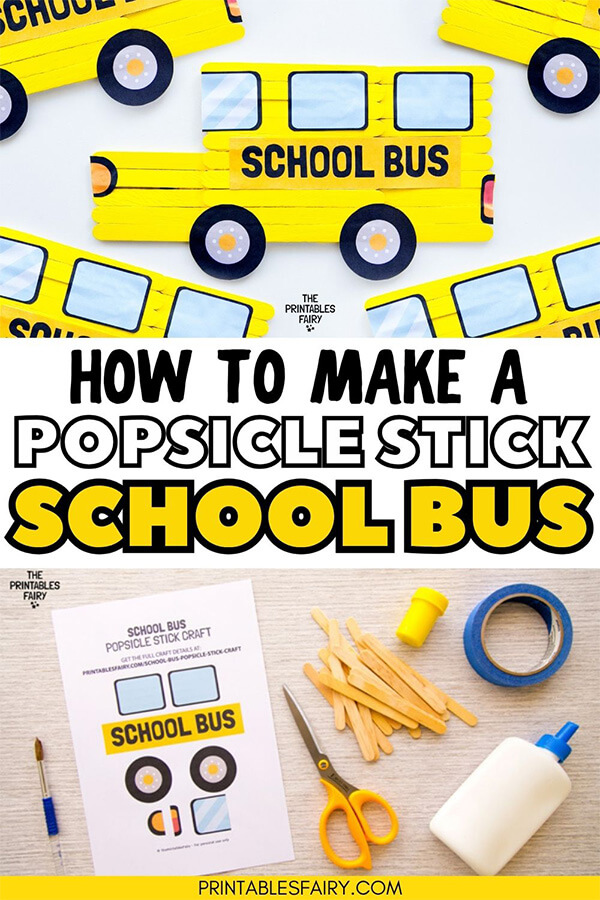
It’s made with wooden craft sticks that are put together to create the shape of a school bus, painted bright yellow, and then decorated with windows, wheels, lights, and a SCHOOL BUS sign.
And don’t worry about having to make all those little details yourself! I created a free printable with the pieces you need to decorate your bus and make the project a little easier.
This Popsicle Stick School Bus Craft is perfect for making at home before school starts, using in the classroom during the first week, or adding to your list of first day of school activities.
Let’s make a school bus!
Why This School Bus Craft Is Great for Back to School
I love back to school crafts that aren’t overly complicated but still give kids several things to do.
This one combines painting, cutting, gluing, and building in one project.
It Helps Build Excitement About Going Back to School
Starting a new school year can bring a lot of changes, especially for younger kids.
Making school-themed crafts before the big day is a simple way to introduce the idea of going back to school through something familiar and fun.
You can talk about riding the bus, meeting a teacher, seeing friends, packing a backpack, or what your child is looking forward to this year while you craft together.
It Practices Fine Motor Skills
This project also gives kids plenty of opportunities to practice using their hands.
They’ll be holding a paintbrush, arranging craft sticks, cutting paper, squeezing or spreading glue, and positioning small pieces.
And because they’re busy creating a school bus, it all feels like part of the fun.
Supplies
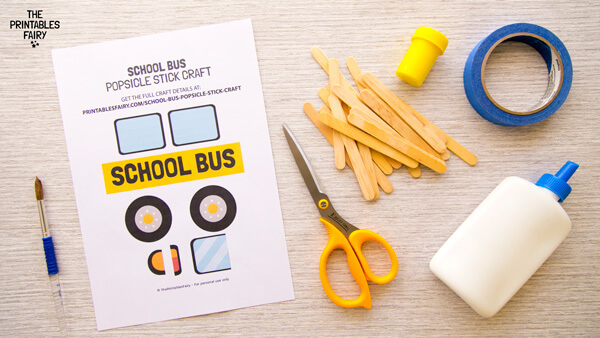
You only need a handful of basic craft supplies to make this project.
Here’s what you’ll need:
- Popsicle sticks or craft sticks
- Yellow paint
- Paintbrush
- Tape
- Glue
- Scissors
- The free School Bus printable (Get it at the end of this post)
- Printer Paper
- Printer
- Something to protect your table while painting
How to Make a Popsicle Stick School Bus
This craft might look like it has a lot of pieces, but once you break it down into steps, it’s actually pretty simple.
The main thing to remember is to give the glue and paint enough time to dry as you work.
Step 1: Arrange the Popsicle Sticks
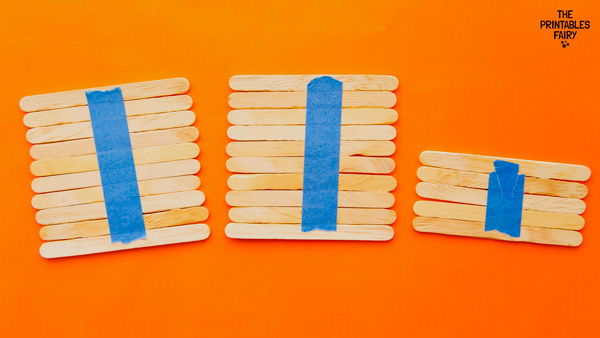
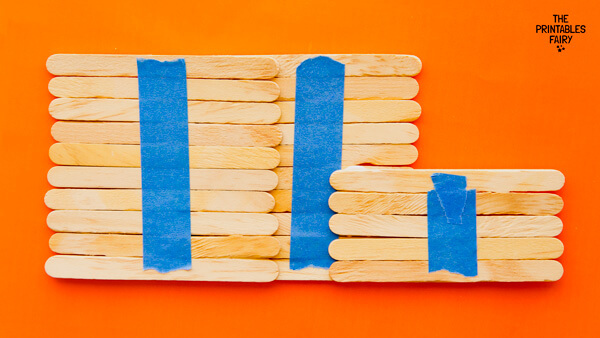
Start by arranging your wooden craft sticks into 3 different sections that will eventually form your school bus.
You’ll need 2 larger sections for the main part of the bus (we used 10 sticks for each) and a smaller section for the front (we used 5 sticks).
Line up the popsicle sticks next to each other so there aren’t large spaces between them.
At this stage, you don’t need everything to be perfect. Just make sure the sticks are fairly straight and that you’re happy with the general size and shape of each section.
Step 2: Secure the Popsicle Sticks Together
Next, secure the popsicle sticks with a piece of tape.
This will keep them together and make the whole craft so much easier to assemble than if we glued them together.
Try to keep the sticks lined up while you work so the finished pieces have relatively straight edges.
Step 3: Assemble the School Bus Shape
Now you can start putting the different sections together.
Position one of the larger popsicle stick sections on top of the other on one side, and put the smaller section towards the front.
Arrange everything until you’re happy with the overall school bus shape, and then glue the sections together.
Give the glue some time to dry before you start painting. This will help keep the pieces from shifting around while kids are working.
Step 4: Paint the Popsicle Stick Bus Yellow
Now for the color!
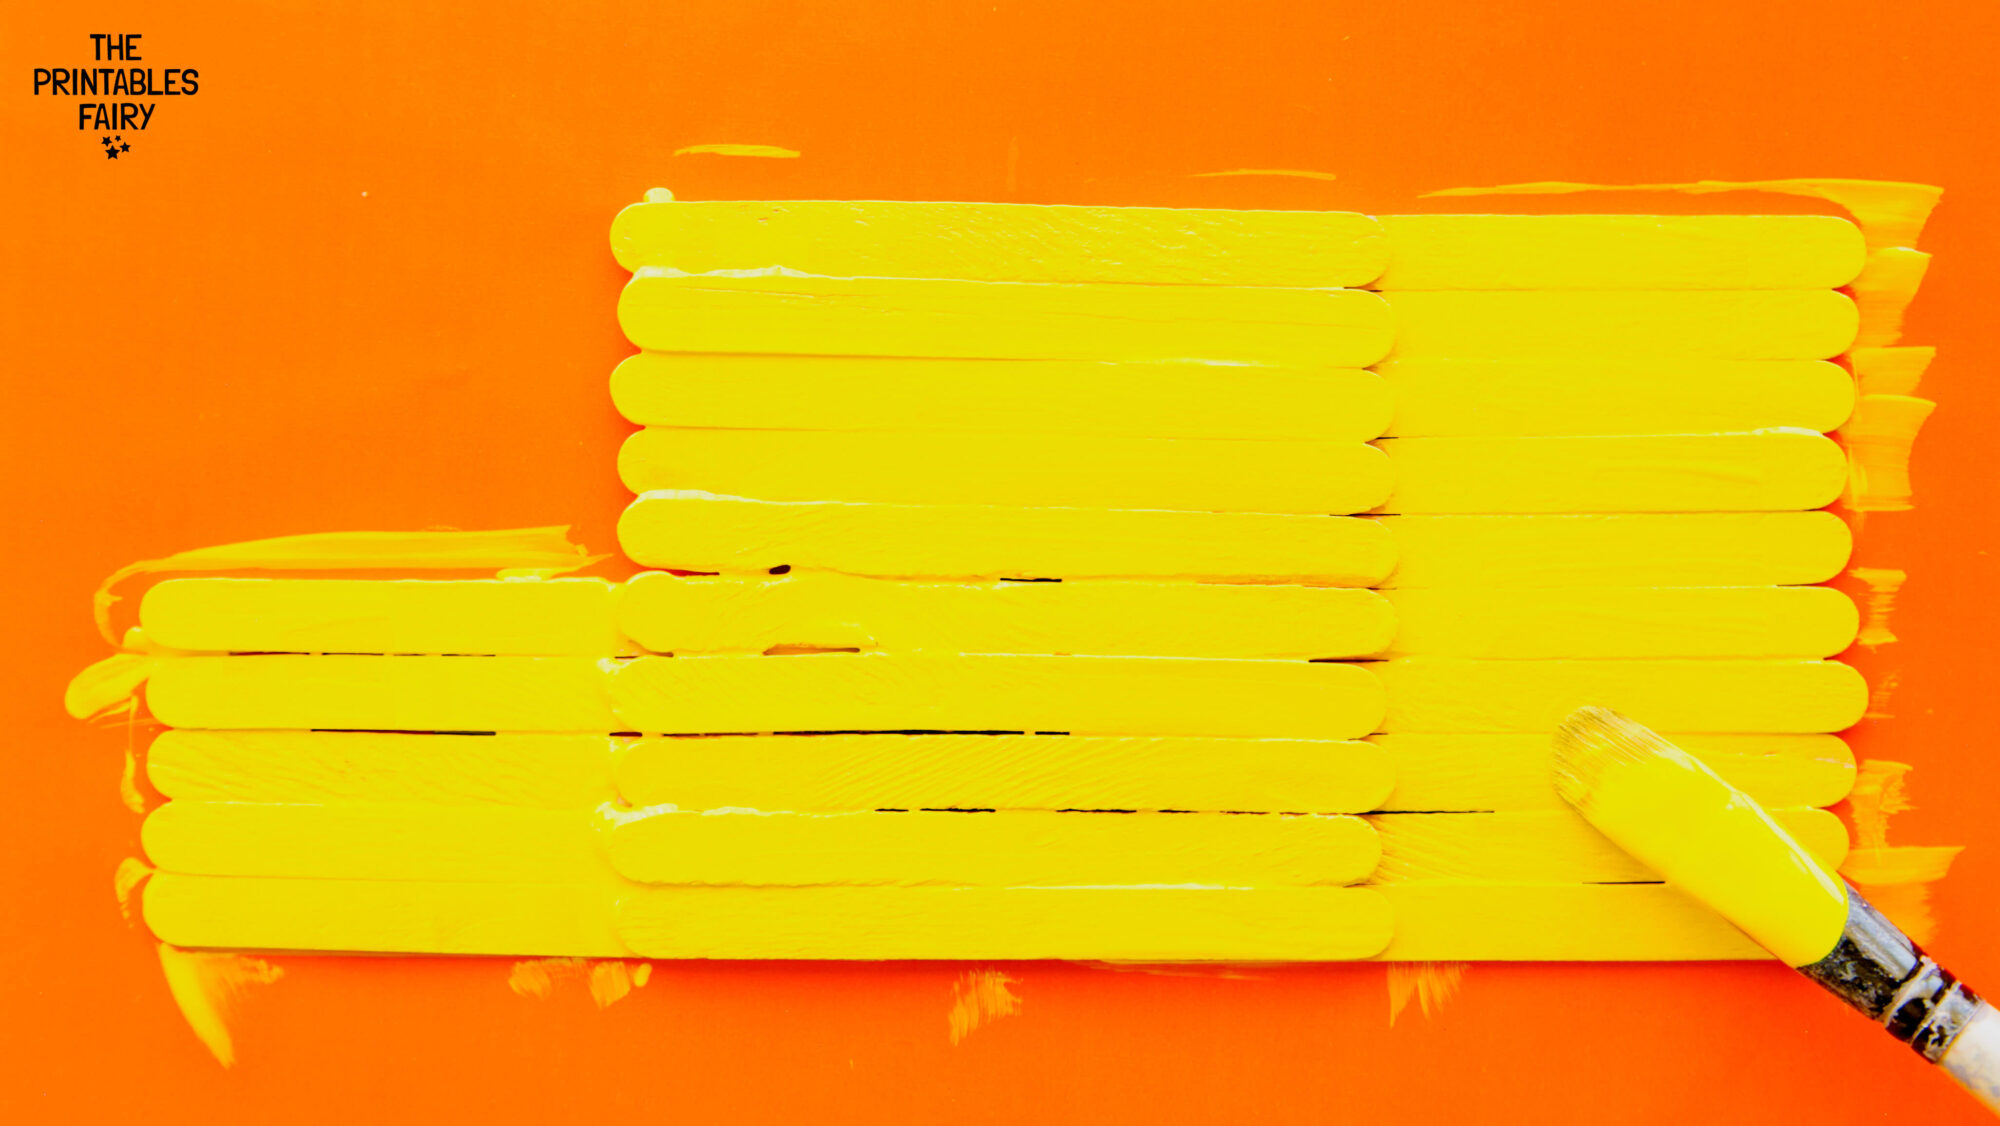
Paint the entire wooden bus bright yellow.
You may need more than one coat depending on the type of paint you’re using and how much of the natural wood you want to cover.
I like to apply a thin layer first, let it dry, and then decide whether it needs another coat.
Make sure the paint is completely dry before adding the printable decorations. Otherwise, your paper pieces may get paint on them or have trouble sticking.
Step 5: Cut Out the Printable School Bus Pieces
While your paint is drying, this is a great time to prepare the printable pieces.
Cut out the windows, wheels, lights, SCHOOL BUS sign, and the other pieces from the template.
Older children may be able to do this step independently, while preschoolers and younger kids will probably need some help with the smaller details.
Don’t worry if everything isn’t cut perfectly. It’s a kids’ craft, and those little differences are part of the fun!
Step 6: Decorate Your Popsicle Stick School Bus
Once the yellow paint is completely dry, you get to do my favorite part: decorating!
Arrange the printable pieces on top of your Popsicle Stick School Bus Craft before gluing them down.
Start with the larger piece, the SCHOOL BUS sign, since it will help you figure out where everything else needs to go.
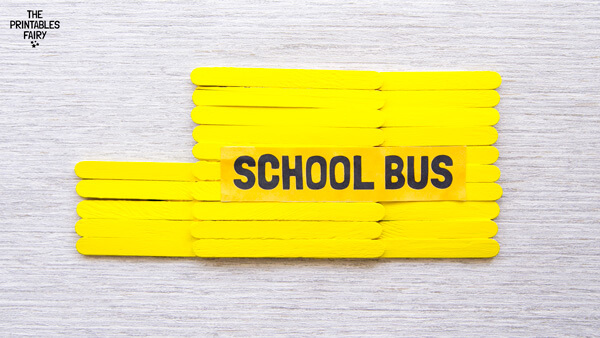
Next, add the windows. One of them doesn’t have a frame on one side; make sure to put it as the windshield.
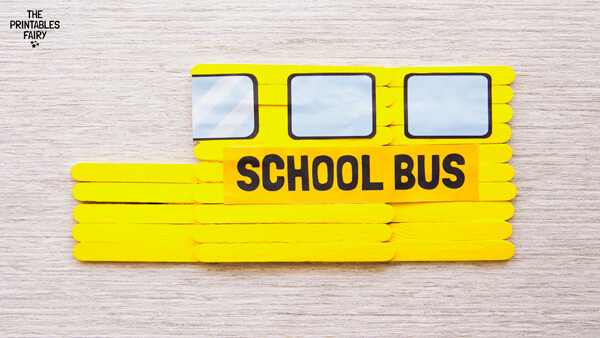
Then add the lights on the front and back.
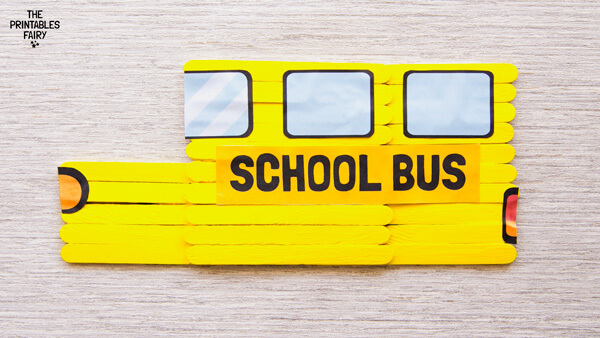
And finish with the wheels.
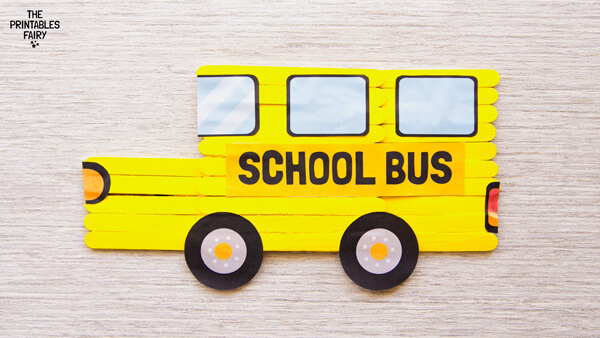
Once you’re happy with how everything looks, glue the pieces in place.
Kids can follow the finished example or arrange their decorations a little differently.
Step 7: Let Your School Bus Craft Dry
Set your finished Popsicle Stick Bus somewhere flat and let all the glue dry.
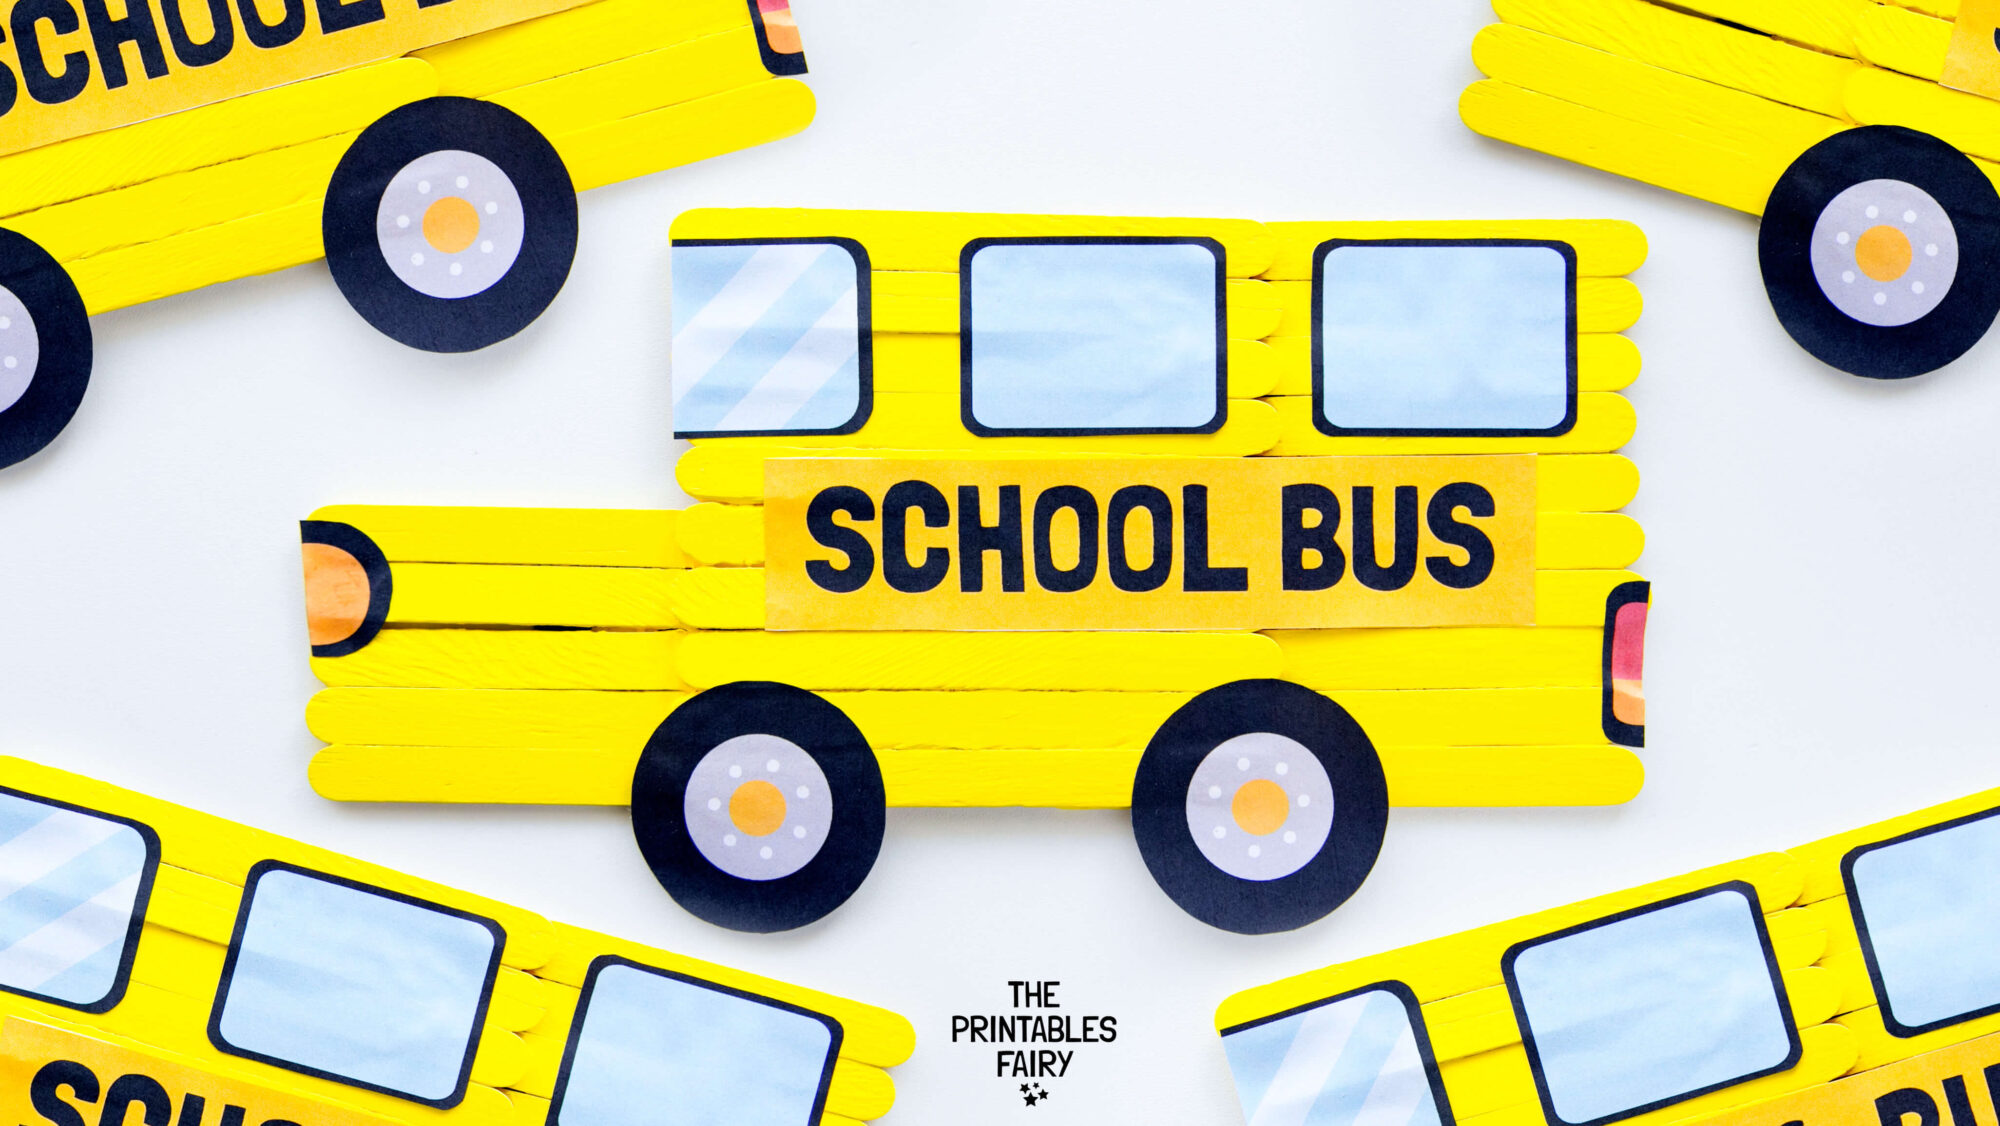
And that’s it!
Your school bus is ready for the first day of school.
Popsicle Stick School Bus Video Tutorial
Sometimes it’s much easier to see how the pieces fit together before you start, so I recommend giving the video a quick watch and then following the step-by-step instructions above as you make your own Popsicle Stick Bus.
Watch the Popsicle Stick School Bus Craft video tutorial below:
And don’t forget to grab the free printable at the end of this post before you start!
It includes the pieces you’ll need to decorate your school bus and makes putting the craft together much easier.
Helpful Tips for Making This Craft With Kids
This is a pretty straightforward project, but a little preparation can make craft time go much more smoothly, especially if you’re working with several children.
Prepare the Popsicle Sticks Ahead of Time for Younger Kids
If you’re making this with preschoolers, consider putting the popsicle stick bases together beforehand.
That still leaves plenty for kids to do!
They can paint the bus and glue all the decorations into place.
For older children, building the popsicle stick base can be part of the activity.
Print the Template Before You Start
I recommend printing your free template before craft time begins.
That way, everything is ready when you need it, and you don’t have to stop halfway through the project to prepare the decorations.
If you are working with young kids, you could send them home the page so they can bring their pieces cut.
Make One First If You’re Doing This in a Classroom
If you’re a teacher making this with a whole class, create one Popsicle Stick School Bus ahead of time.
Having a finished example gives kids a visual reference and makes it much easier to explain where the different pieces go.
Download the Free School Bus Printable
You could absolutely make the paper pieces for this craft yourself using construction paper.
But if you want to make things a little easier, I created a free printable that you can use!
Simply print the template, cut out the pieces, and they’re ready to add to your bus.
If you’d like your Popsicle Stick Bus to look like mine, grab the free printable before you start and have it ready for the decorating step!
Get the Free Popsicle Stick School Bus Printable
I hope this Popsicle Stick School Bus Craft becomes a fun part of your Back to School celebrations!
More Back to School Crafts and Activities for Kids