
Back-to-school season is here!
Whether your kids are starting school for the very first time or heading into a brand-new grade, it’s the perfect time to celebrate with a fun and creative activity.
And what better way to get ready for the school year than with a Pencil Corner Bookmark?
This adorable Pencil Bookmark is easy to make and practical enough to use all school year long. Kids can make their own bookmark and then use it to mark their place in their favorite books.
If you’re looking for easy bookmark ideas or a simple Back to School craft for kids, this one is a great choice!
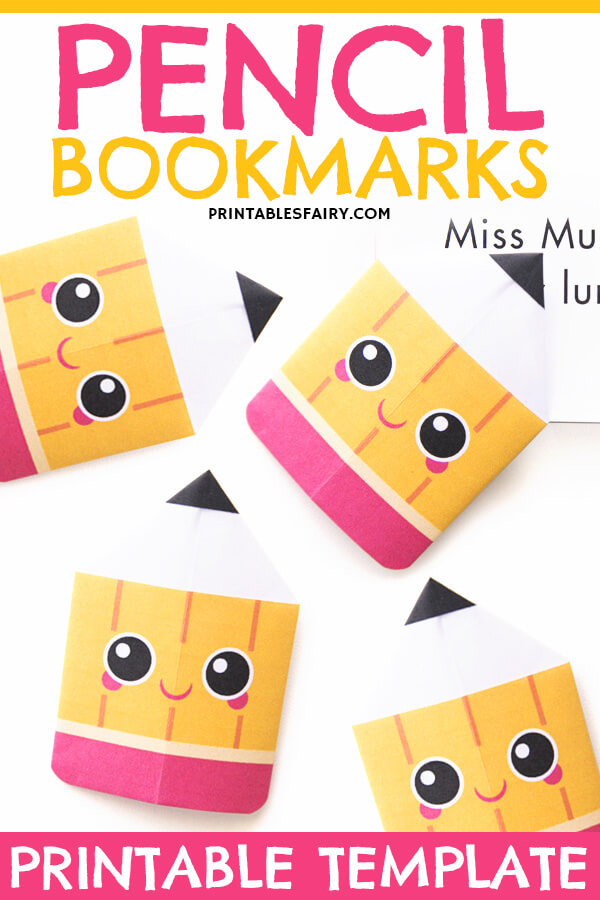
Why Make a Pencil Corner Bookmark?
There are so many reasons to add this Pencil Bookmark to your back-to-school craft list:
- It encourages reading. A handmade bookmark makes reading feel a little more special. Kids can create their own bookmark and then use it every time they pick up a book.
- It’s a fun Back to School craft. Pencils and school supplies are practically the symbols of a new school year, so a Pencil Corner Bookmark makes the perfect back-to-school activity.
- It’s quick and easy. If you love crafts that don’t require a huge supply list or complicated instructions, you’ll love this one. With the printable template, kids simply print, cut, and fold.
- Makes a useful back-to-school gift: Pair a finished bookmark with a new book, notebook, or pencil for a simple school-themed gift.
- It’s the perfect addition to goodie bags: These bookmarks also make cute additions to back-to-school parties or classroom goodie bags.
It’s an easy project for classrooms, homeschool activities, library programs, or crafting at home.
What You’ll Need
Here’s everything you need to make your Pencil Corner Bookmark:
- Pencil Corner Bookmark template (Get it here along 3 other Back to School designs)
- Printer
- Paper
- Scissors
You probably already have most of these supplies at home!
How to Make a Pencil Corner Bookmark
Ready to make your own Pencil Bookmark?
Let’s get started!
Step 1: Print the Template
Start by printing your Pencil Corner Bookmark template.
This printable is perfect when you want an activity that’s ready to cut and assemble.
Step 2: Cut Out the Pieces
Carefully cut around the green square using a pair of scissors.
Younger children may need some help with cutting, while older kids can practice their cutting skills and make the bookmark independently.
Place it in front of you just like in the picture below (pencil side down)
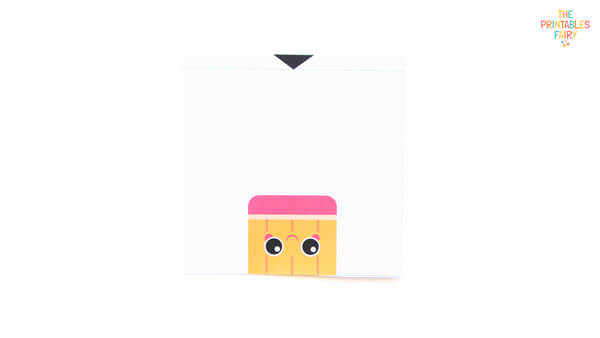
Step 3: Fold the Bookmark
Flip over your square and fold the top along the green line.
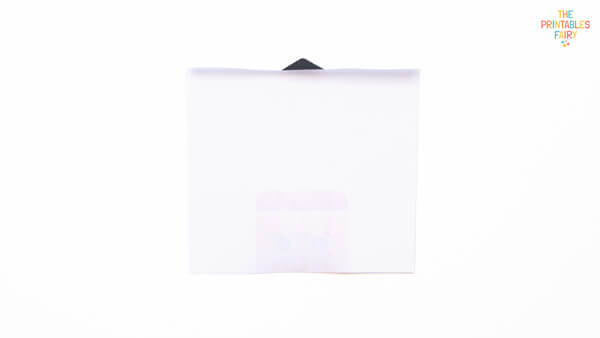
Then, fold everything in the middle and unfold it.
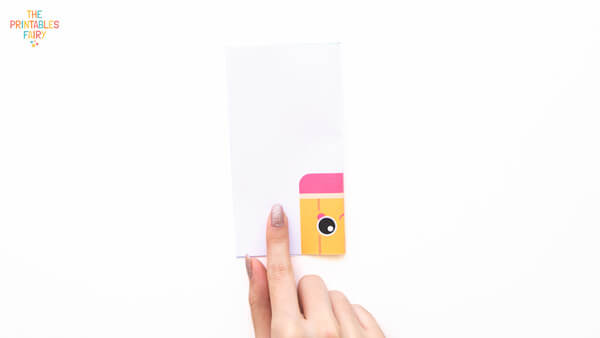
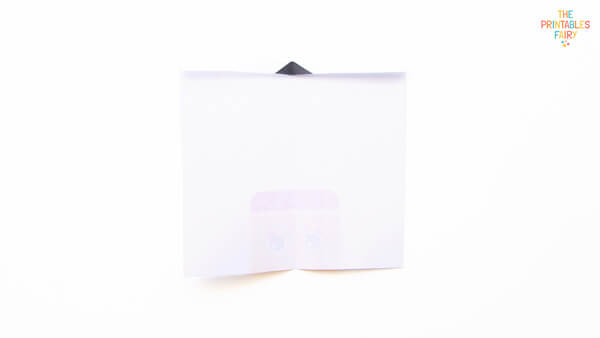
Now fold the pencil up to the eraser and unfold it.
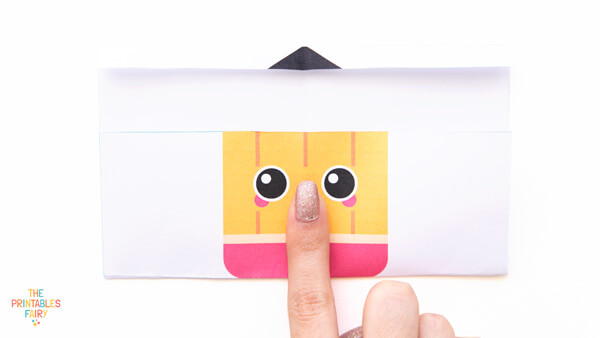
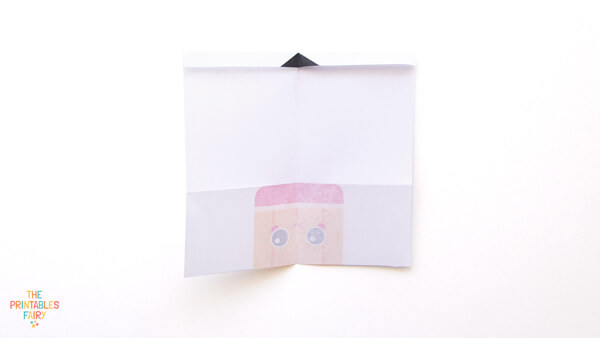
Flip over your paper again and bring the top left and right corners to the center crease.

Flip over your paper once more and fold the pencil up.
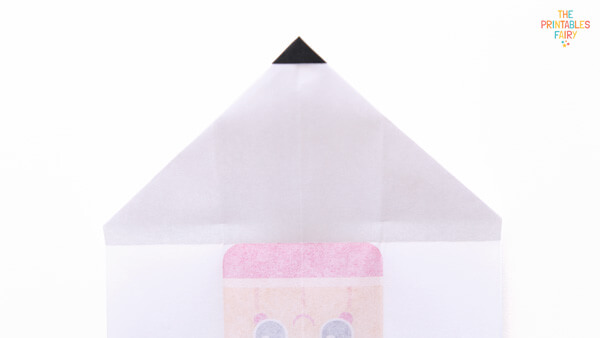
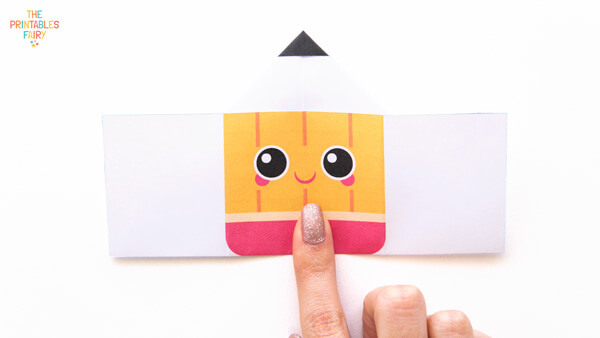
Fold the sides inwards along the pencil.
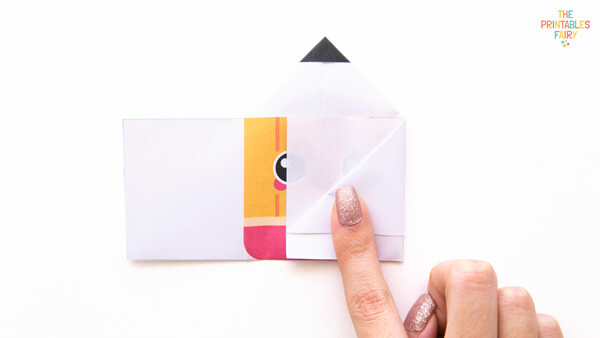
Flip over the bookmark again and introduce one flap into the other.
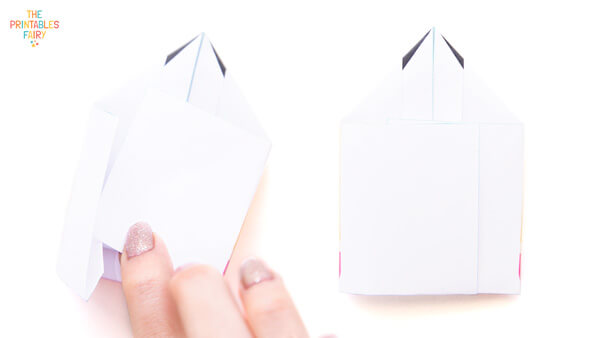
Step 4: Cut Out Your Pencil Bookmark
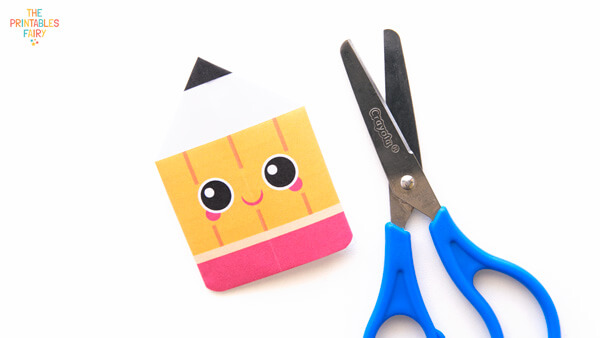
For the final step, cut out the tiny edges around the eraser.
If you are working with young kids, you can totally skip this step.
Pencil Corner Bookmark Video Tutorial
Need more help understanding how to fold this bookmark?
I’ve got you covered with this video tutorial!
Get the Printable Pencil Corner Bookmark Template
Ready to make your own Pencil Corner Bookmark?
You can find the printable template in my shop. The download includes:
- A full-color Pencil Corner Bookmark
- A full-color Notebook Corner Bookmark
- A full-color Ruler Corner Bookmark
- A full-color Calculator Corner Bookmark
Click the link below to get them!
Get the Pencil Corner Bookmark Printable
Please note: This is a paid printable template. Once purchased, you can print copies for your own personal or classroom use according to this terms.
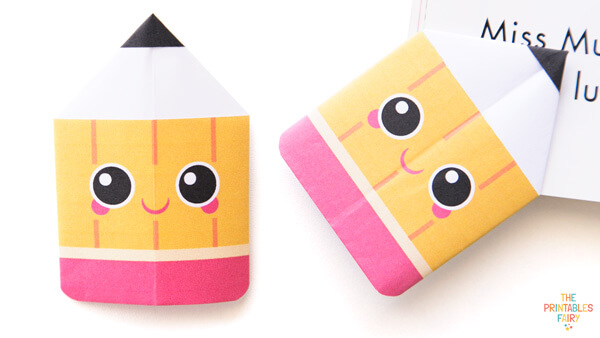
Whether you’re looking for a simple classroom activity, a creative way to welcome the new school year, or an easy craft to make at home, this Pencil Corner Bookmark is a fun project for kids.
It’s quick to make, and something they can actually use when they’re finished.
So grab your printable and some scissors to make a cute Pencil Bookmark and celebrate the start of a brand-new school year!
Download the instructions here:
How to Make a Pencil Corner Bookmark
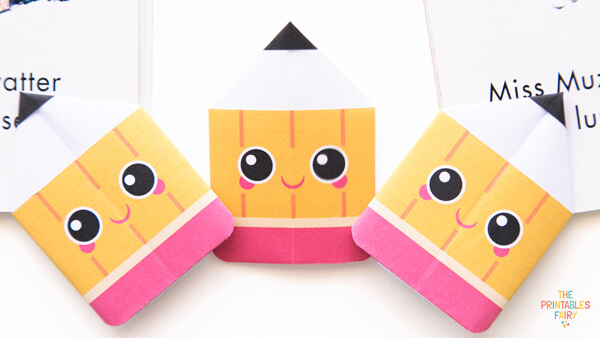
Materials
- Pencil Corner Bookmark template
- Printer
- Paper
- Scissors
Tools
Instructions
Step 1: Print The Template
Start by printing your Pencil Corner Bookmark template.
This printable is perfect when you want an activity that’s ready to cut and assemble.
Step 2: Cut Out The Pieces
Carefully cut around the green square using a pair of scissors.
Younger children may need some help with cutting, while older kids can practice their cutting skills and make the bookmark independently.
Place it in front of you with the pencil side down.
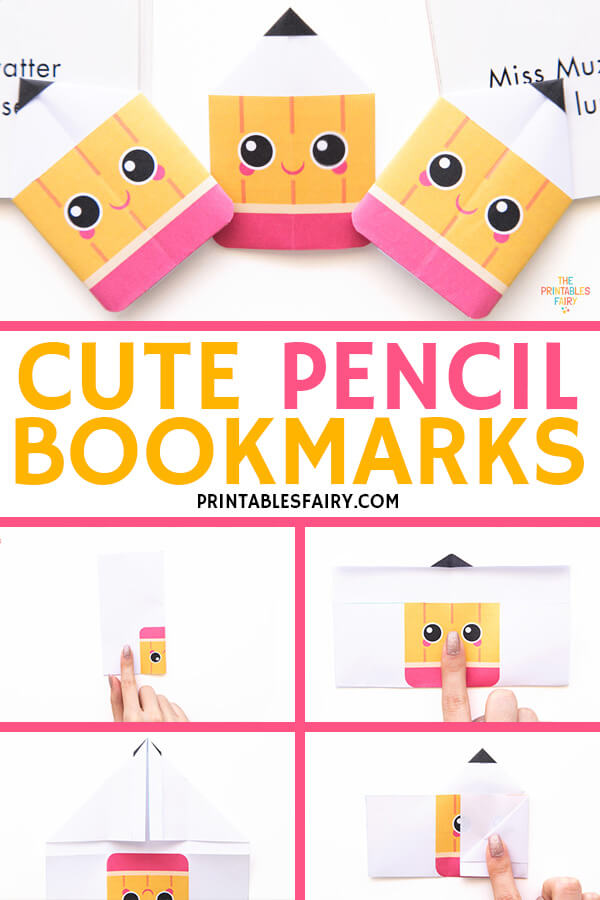
Step 3: Fold The Bookmark
Flip over your square and fold the top along the green line.
Then, fold everything in the middle and unfold it.
Now fold the pencil up to the eraser and unfold it.
Flip over your paper again and bring the top left and right corners to the center crease.
Flip over your paper once more and fold the pencil up.
Fold the sides inwards along the pencil.
Flip over the bookmark again, reverse the previous folds, and introduce one flap into the other.
Step 4: Cut Out Your Pencil Bookmark
For the final step, cut out the tiny edges around the eraser.
If you are working with young kids, you can totally skip this step.
More Back to School Crafts
- Back to School Bookmarks
- Apple Paper Plate Craft
- School Bus Shape Craft