Once again, I’m sharing a non-spooky Halloween craft that is perfect for the youngest kids at home.
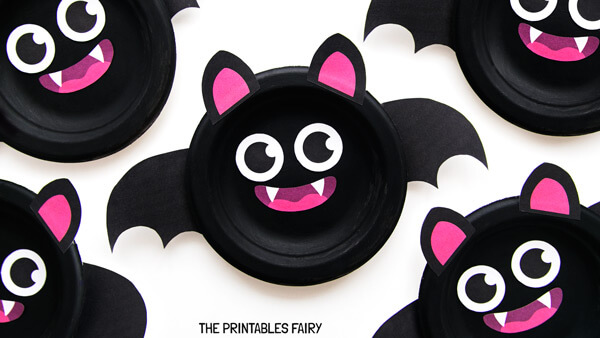
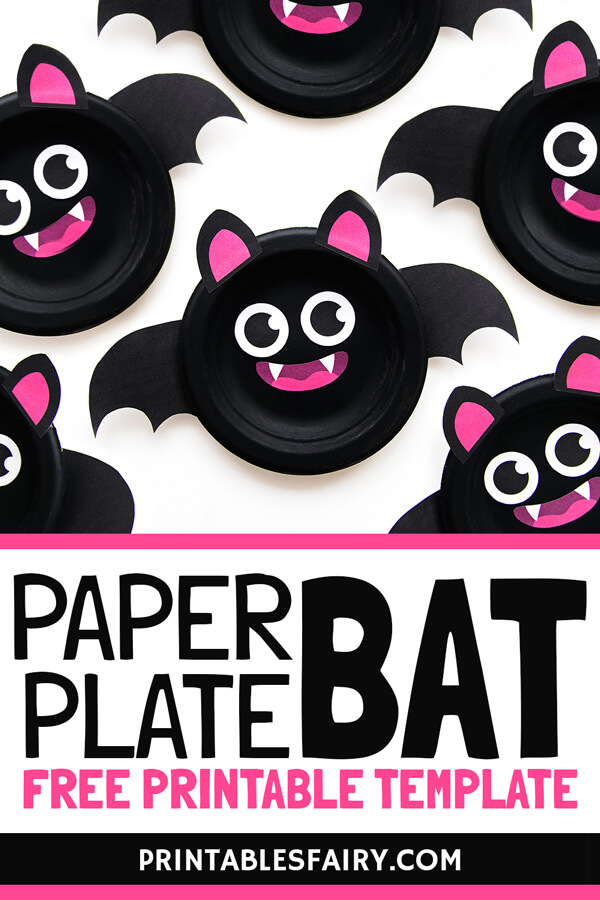
I’m talking about this paper plate Bat craft that is actually super cute and child-friendly 💜.
It’s perfect for making with toddlers, preschoolers, kindergarteners, and elementary-aged kids as it’s super simple and has the right amount of spookiness to keep everyone happy. Just keep in mind that the youngest children will need help with the cutting, while the oldest can do it entirely on their own.
When working on this craft, your little ones will not only have lots of fun but also develop their fine motor skills, hand-eye coordination, and scissor skills. It’s just the perfect balance if you ask me.
And once they are done, you can use your bats to decorate walls and windows, put a craft stick on the back to make a puppet, or hang them from the ceiling to make it look like they are flying.
As always, you can craft them at home or in the classroom before reading some bat books or in preparation for Halloween.
They are just too adorable not to craft them!
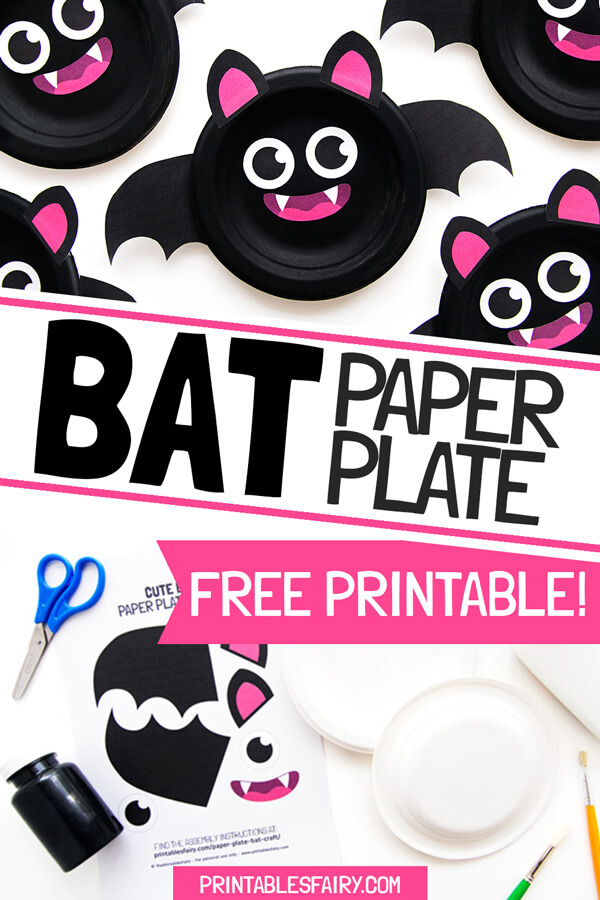
How To Make A Paper Plate Bat Craft
In this post, I’ll show you all the supplies you’ll need to make your paper plate bats.
After that, I’ll explain step-by-step how to make them and even include a video tutorial where I teach you how to do it.
Once you are ready to make your bats, you can download the free printables that include 2 template sizes so you can choose the one that fits your plates better.
Ready to make these bat boys?
Materials
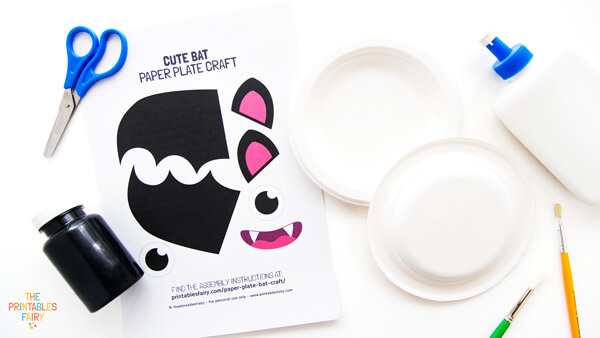
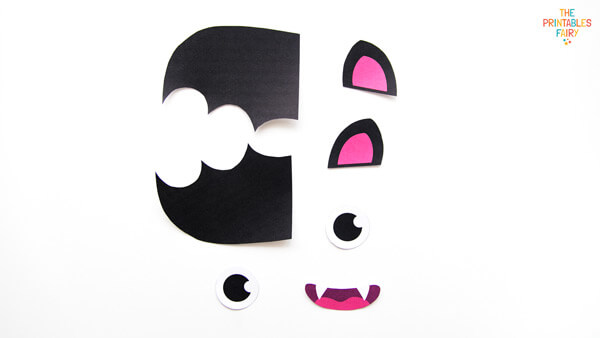
To make your Bat Paper Plate, you will need:
- Bat Paper Plate Template (get it for free at the end of this post)
- Small Paper Plate (we used a 6 inches one)
- Black paint
- Paintbrushes
- Scissors
- Glue (it can be regular white glue or a glue stick)
- White cardstock and printer
Instructions
- Before getting started, don’t forget to cover your crafting area with some old paper or paper towels.
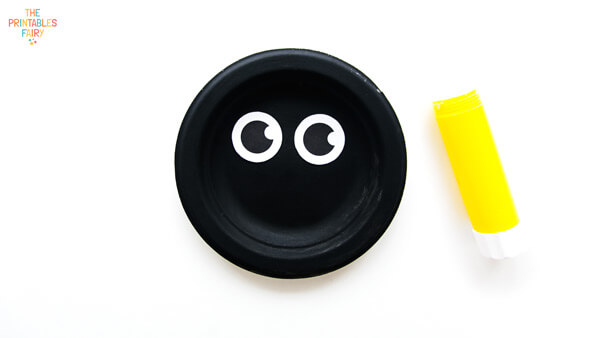
- Paint the paper plate with black paint. This time, we used acrylic paint and only needed one layer.
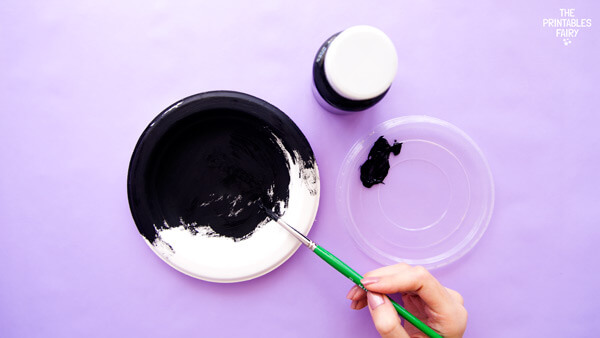
You can also use black paper plates and skip this step.
- Download, print, and cut out the bat template available at the end of this post.
- After the paint dries, glue the eyes on the paper plate.
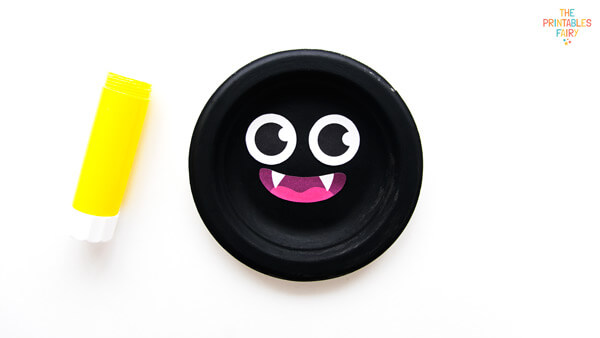
- Stick the mouth right under the eyes.
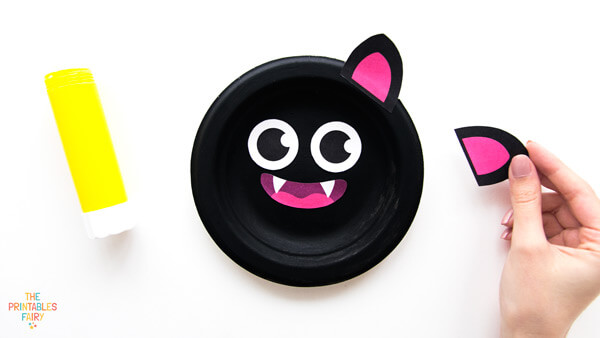
- Paste the ears at the top of the plate.
- And to finish your bat, glue the wings behind the plate.

Your Bats are ready to have a fangtastic Halloween!

Video Tutorial
In this video, you can watch me make this Bat paper plate craft following the steps above.
You can take a look now or save it on Youtube for later, so you can always access it!
Paper Plate Bat Template
Ready to make this easy Bat craft for Halloween?
Click the link below to download the template and get started!
To make it even easier for you, there are two printable templates to choose from. The first one is perfect for 6 or 7 inches plates, and the second one is ideal for 9 or 10 inches plates. Pick and print the one that fits yours.
And if you make this craft with your kids or students, don’t forget to share with us on Instagram by tagging @theprintablesfairy. We always love to see your creations!
GET THE BAT PAPER PLATE TEMPLATE
*Please remember that these printables are for personal use only. You may not sell or distribute the files. If you want to share them, please link to this post and not directly to the PDF files.
More Halloween Crafts With Paper Plates
so cute
And very fun to make! Hope you enjoyed this activity!
THEY ARE ADORBLE.
I’m glad you like this craft!
This is a great activity however I can’t find the link to the printable.
Thanks for visiting my blog! You can find the link to download the free printable at the end of the post. It is in the “Paper Plate Bat Template” section, right below the video tutorial.
Great activity that doesn’t require too much involvement from the teacher.!