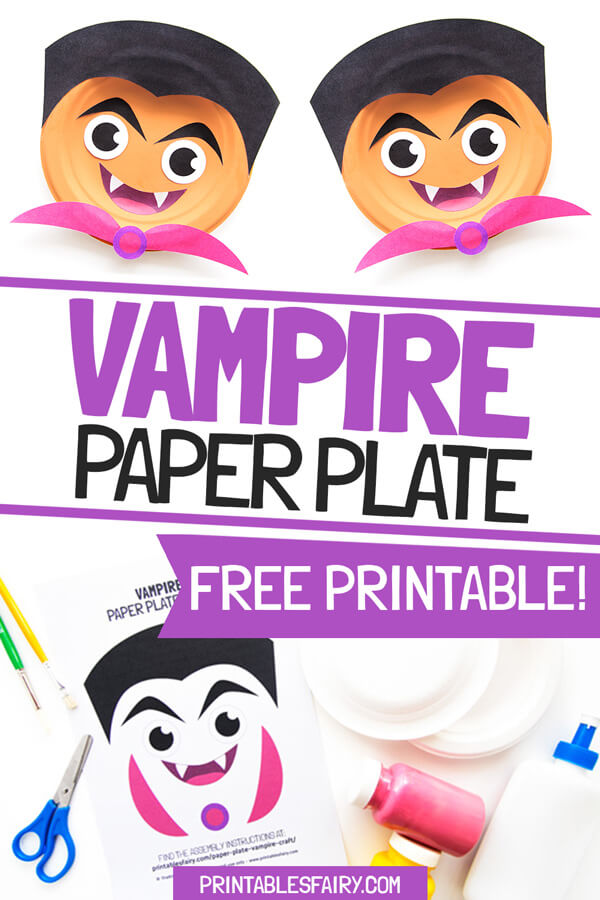
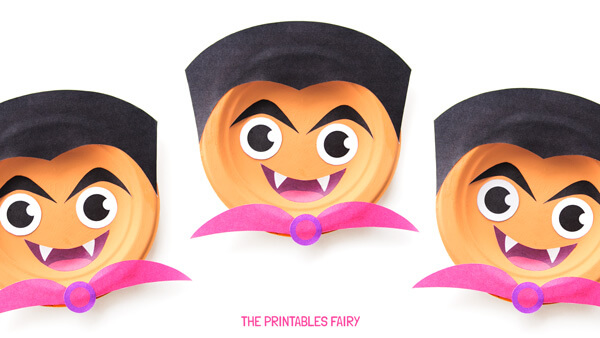
If this Halloween you are working with a mixed group and need an activity that works for both preschoolers and young elementary-aged kids, this craft may be your answer.
Its simplicity and its half spooky-half cute design make this Paper Plate Vampire Craft the perfect way to celebrate Halloween with kids of all ages!
All you have to do is download the free printable template at the bottom of this page, grab some small paper plates, and get started.
After just a couple of steps, you will have a nice craft ready to decorate your home, classroom, or even library.
Your kids are going to love this, and while having fun, they will also be developing their fine motor skills, scissor cutting skills, and concentration.
If this sounds perfect for you, keep reading this post to learn all the details and make your own vampires.
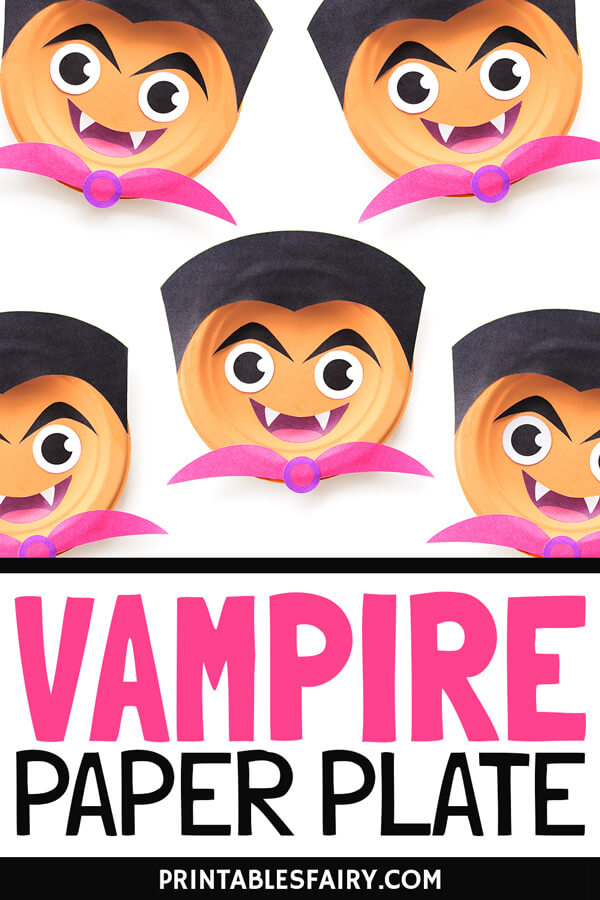
How To Make A Paper Plate Vampire
In this post, I’ll teach you everything you need to make your own vampires at home.
From the materials to the directions and a step-by-step video tutorial, you’ll be able to replicate our craft in a breeze.
And to make it exactly like us, don’t forget to scroll to the bottom of this page and download the free printable template.
Materials
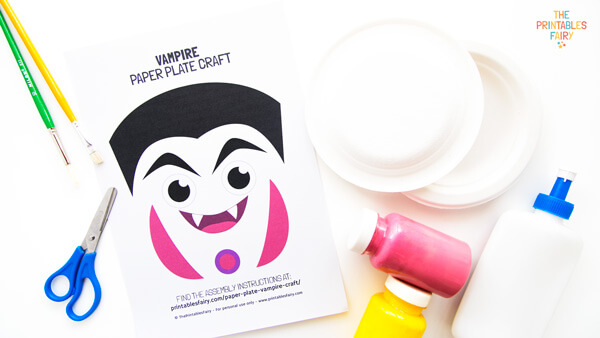
To make this vampire paper plate craft, you’ll need:
- Vampire Paper Plate Template (get yours at the end of this post)
- White cardstock and printer
- 6 Inches paper plate
- Scissors
- Glue
- Paint
- Paintbrushes
Instructions
- Get started by covering your crafting area with some newspaper or plastic. Remember that painting can get a bit messy, so you better be prepared.
- Paint your paper plate and let it dry completely. This time, we used just one coat of acrylic paint.
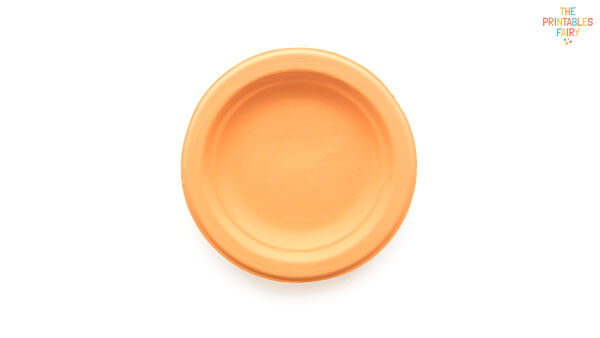
The color is up to your kids; maybe they want a purple vampire, a blue one, or an orange one like us. You can also take this time to practice some color mixing.
- Then, print and cut the vampire face template.
There are 2 sizes included with your download. One is perfect for small plates like ours, and the other is better suited for 10 inches paper plates.
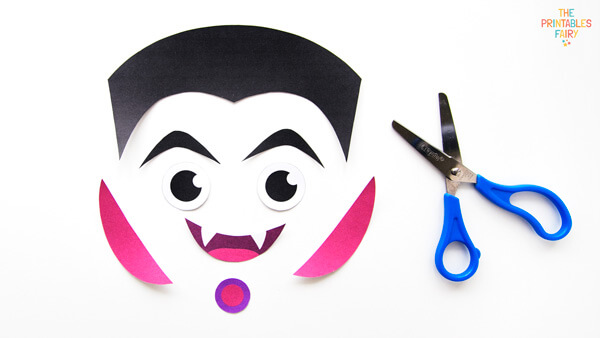
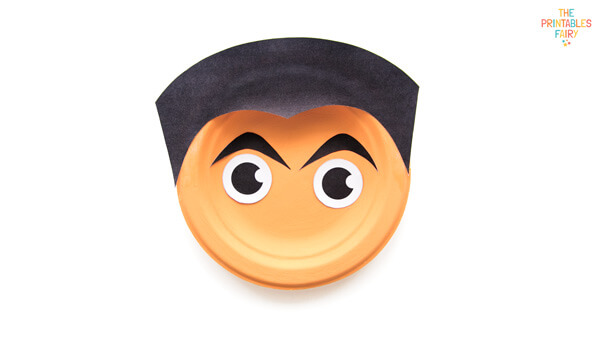
- Glue the vampire’s hair to the top of the paper plate.
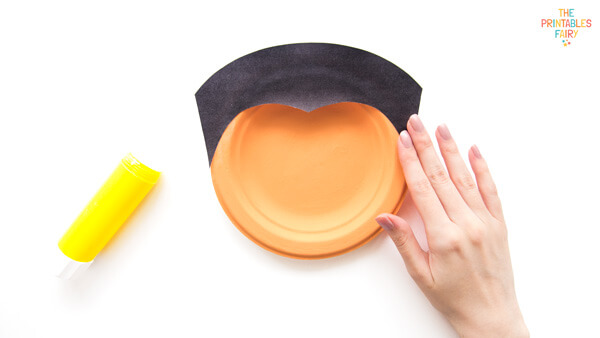
If you are working with the big template, the hair comes in 2 pieces, so make sure to line them up.
- Stick the eyebrows just below the hair.
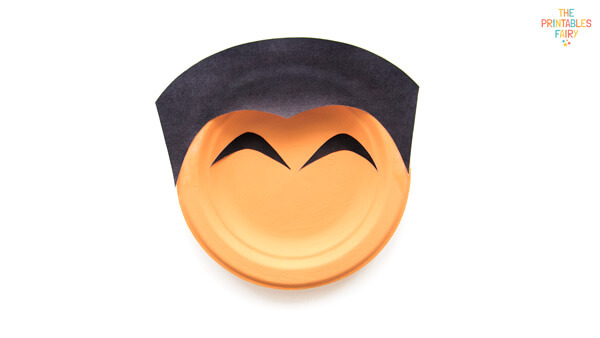
- Glue the eyes below the eyebrows.
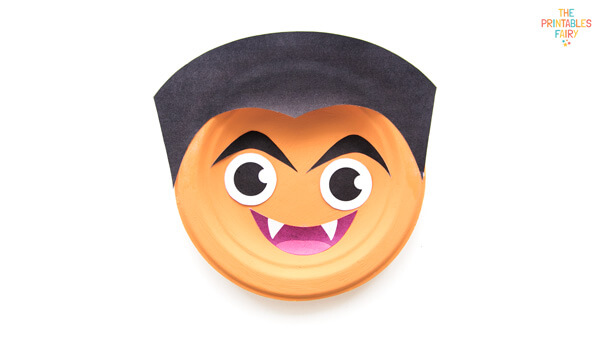
- Add the mouth right below the eyes.
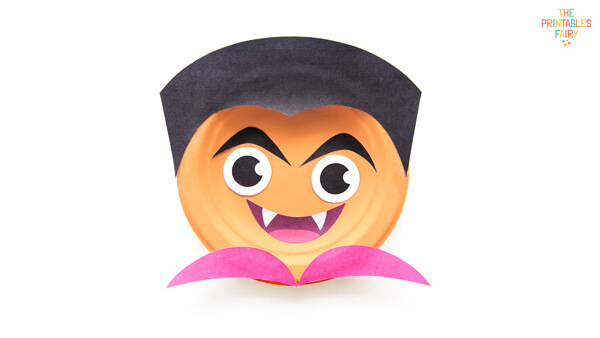
- Glue the coat at the bottom of the plate. This part comes in 2 pieces, so make sure to glue them from the middle out to make sure they are in the center of the plate.
- Complete your vampire by adding the button in the middle of the cape.
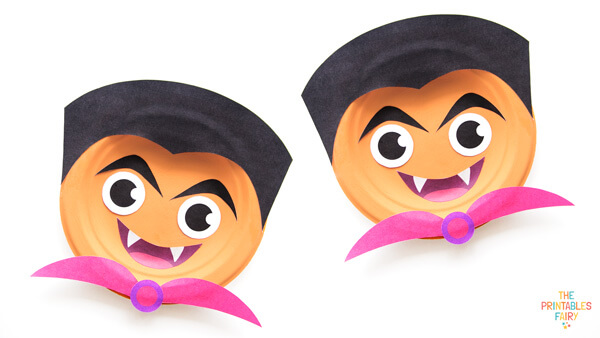
Aren’t you a sucker for these vampires?
Video Tutorial
In this tutorial, you can watch me create a Vampire paper plate craft using our free printable template.
You can take a look now or save it on Youtube to watch it later!
Isn’t it fangtastic?
Paper Plate Vampire Template
If you loved this vampire and want to try it ASAP, it may be time to get your template. To do so, simply click the link below and get crafty!
Remember that there are 2 versions of this template. The smaller one is perfect for 6 inches plates, and the bigger one is ideal for 10 inches plates. Of course, you can use them with similar sizes as well.
And if you make this craft with your kids or students, don’t forget to share with us on Instagram by tagging @theprintablesfairy. We may repost some in our stories!
GET THE VAMPIRE PAPER PLATE TEMPLATE
*Please remember that these printables are for personal use only. You may not sell or distribute the files. If you want to share them, please link to this post and not directly to the PDF files.
More Halloween Paper Plate Crafts
