Are you looking for a non-spooky Halloween craft for your toddlers and preschoolers?
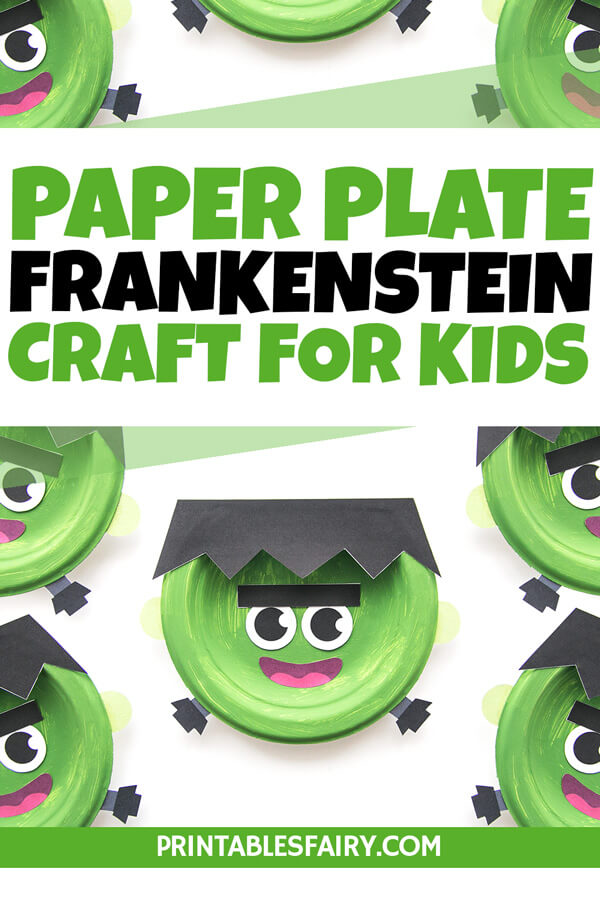
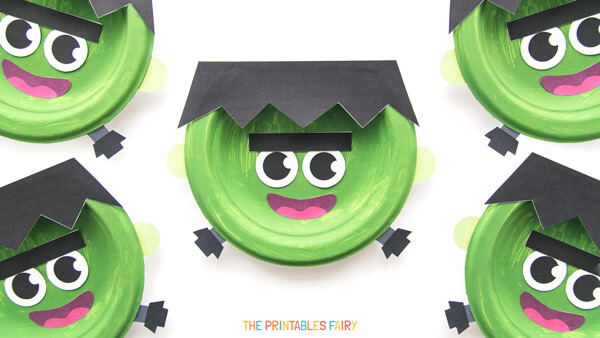
If so, you are going to love making this Frankenstein paper plate craft with them!
It’s adorable and age-appropriate, so your little kids won’t be scared at all.
It’s perfect for preschoolers, kindergarteners, elementary-age children, and toddlers with the help of an adult. Most older kids will be able to do this project independently, while the younger ones may need you to do the cutting for them.
Either way, kids love this craft and will be eager to make it and celebrate Halloween at home or school.
And once they complete their Frankenstein, they can hang it in a window, add a craft stick on the back to make a puppet, or even put together paper plates from the whole class to make a banner.
It’s a super simple activity for the little ones and will keep them excited for Halloween.
Let me show you how to make them!
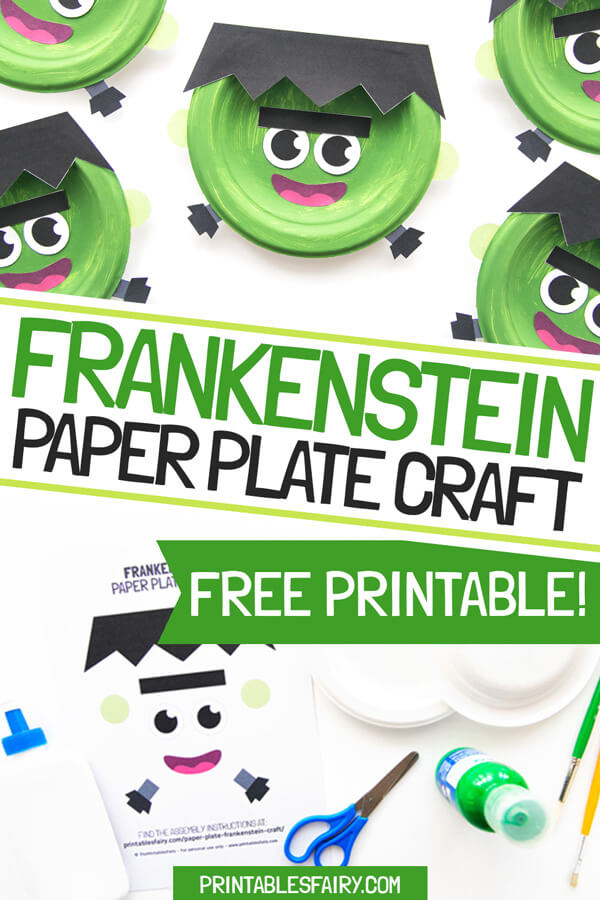
How To Make A Paper Plate Frankenstein
In this post, you can find all the materials we used to make our craft and even download our free printable template, so your Frankenstein looks exactly like ours.
You can also find the step-by-step directions we followed to put up our plate and a video tutorial where I show you how to make this craft from scratch.
Ready for this franken-venture?
Materials
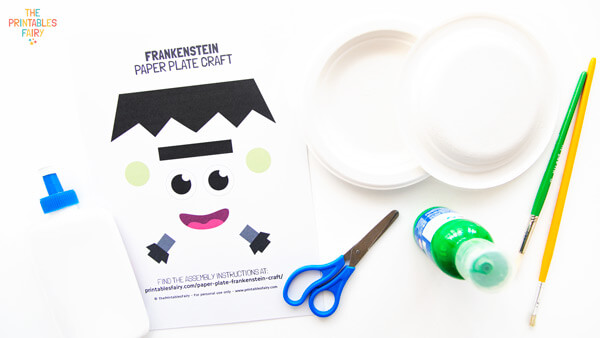
To make your Frankenstein Paper Plate, you will need:
- Frankenstein Paper Plate Template (get it for free at the end of this post)
- A paper plate (we used a small 6 inches one, but you can use a regular 10 in.)
- Green paint
- Paintbrushes
- Scissors
- Glue (it can be regular white glue or a glue stick)
- White cardstock and printer
Instructions
- Start by covering your crafting area with some used paper or paper towels since it can get a bit messy.
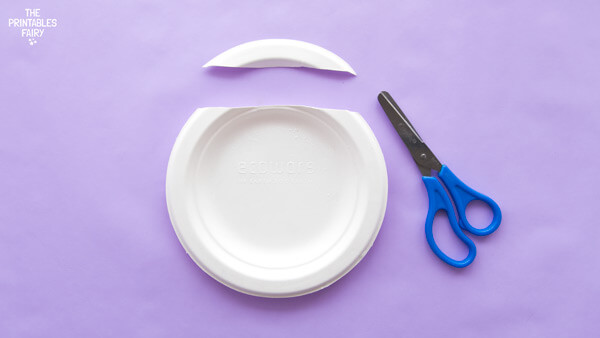
- Cut off a few inches from the top of the paper plate. It doesn’t have to be super precise, as you will cover it later.
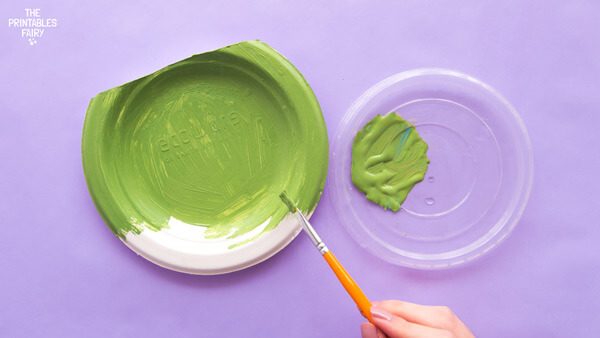
- Paint the paper plate green and let it dry completely.
Depending on the type of paint you use, you might need some extra layers. In this case, we only used one of green acrylic paint.
- Download the Frankenstein face template at the end of this post, print it on white cardstock, and cut out all the pieces.
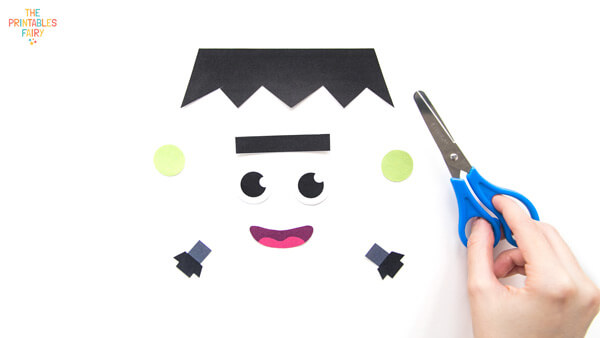
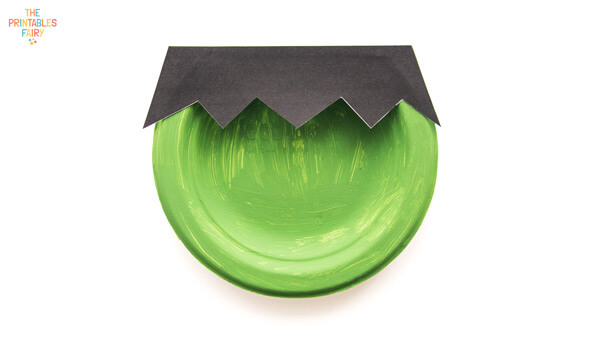
- Glue the Frankenstein’s hair at the top of the paper plate, aligning it with the part you cut off.
If you are working on a big paper plate, the hair comes in two pieces, so make sure to line them up in the middle.
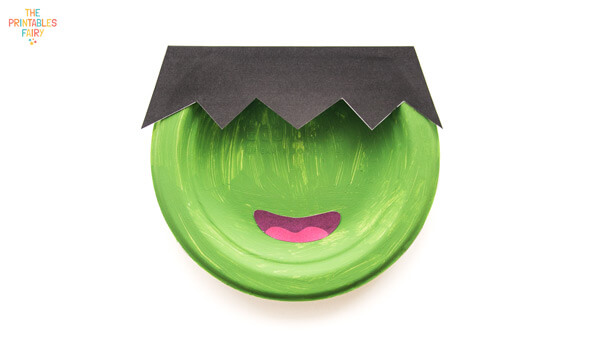
- Add the mouth in the middle down.
- Glue the eyes right above the mouth.
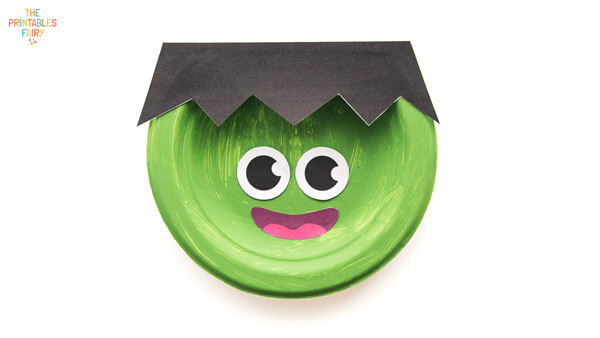
- Stick the eyebrow slightly on top of the eyes.
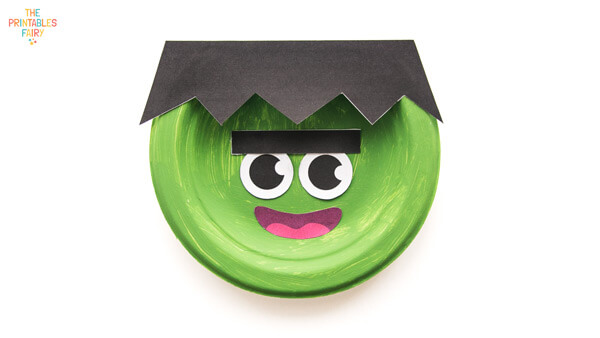
- Glue the ears behind the plate and below Frank’s hairline on each side of the plate.
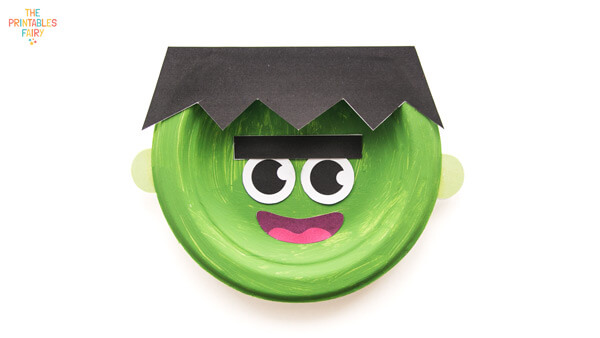
- And finish it by adding the bolts behind the plate and below the ears.
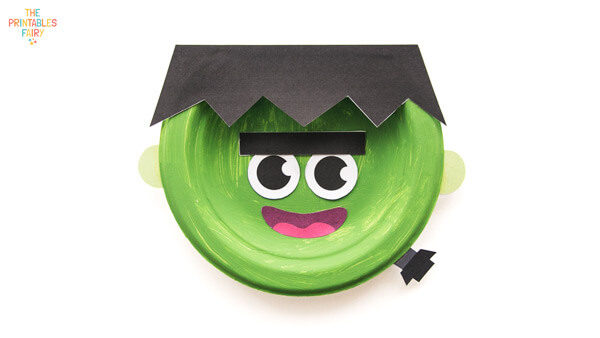
Your Frankenstein is completed. Now it’s your turn to make your own with your kids!
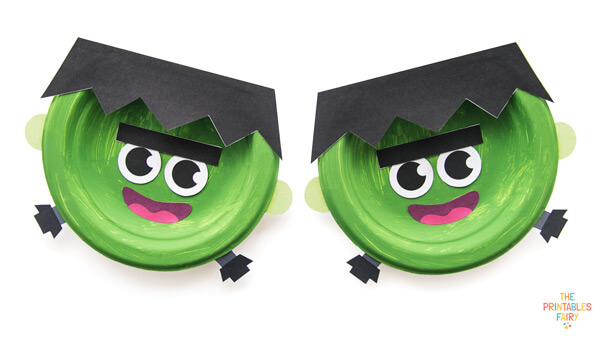
Video Tutorial
Here you can watch me create a Frankenstein paper plate craft with our free printable templates.
You can take a look now or save it on Youtube for later, so you can always access it!
Isn’t it so franken-cute?
Paper Plate Frankenstein Template
Ready to make this fun Frankenstein craft for Halloween?
Click the link below to download the template and get started!
As I told you above, there are 2 versions of this template included with your download. The smaller one is perfect for 6 or 7 inches plates, and the bigger one is ideal for 9 or 10 inches plates. Just print the one that you need.
And if you make this craft with your kids or students, don’t forget to share with us on Instagram by tagging @theprintablesfairy. We always love to see your creations!
GET THE FRANKENSTEIN PAPER PLATE TEMPLATE
*Please remember that these printables are for personal use only. You may not sell or distribute the files. If you want to share them, please link to this post and not directly to the PDF files.
More Halloween Crafts With Paper Plates
awesome projects for toddlers