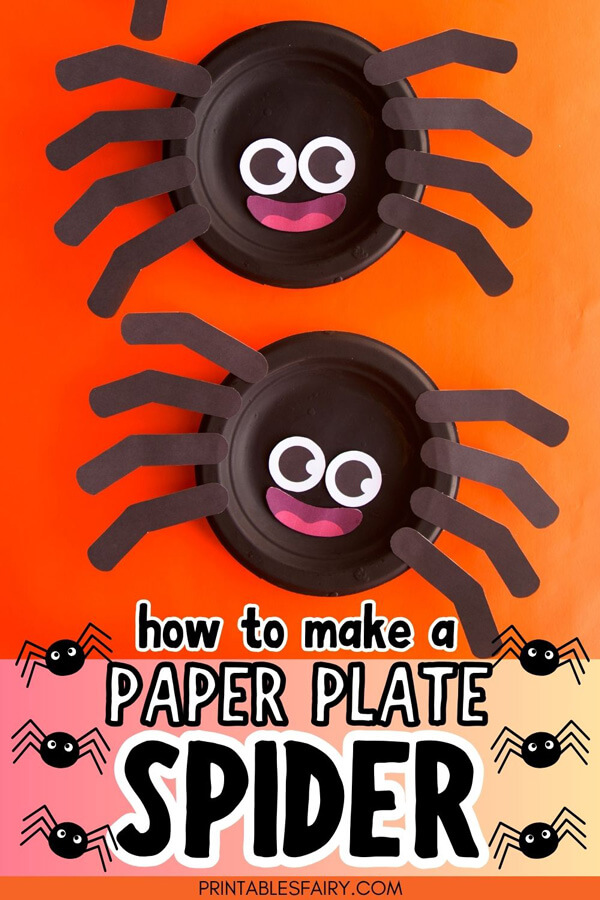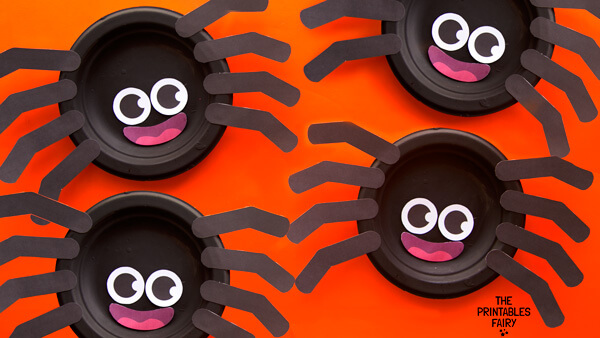
Halloween is the perfect excuse to pull out the paint, paper plates, and glue and make something a little spooky!
If you’re looking for an easy Halloween project that kids can make without a complicated list of supplies, this Paper Plate Spider Craft is a fun one to try.
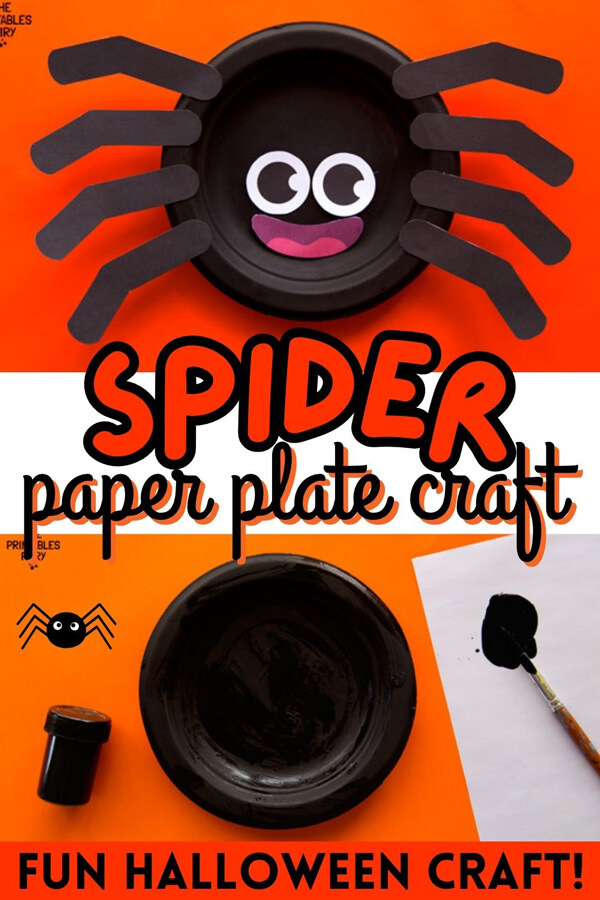
This silly little spider starts with a simple paper plate painted black. Add eight paper legs, big cartoon eyes, and a colorful smile, and you have an adorable Paper Plate Spider that is much more cute than creepy.
I also made a free printable template to go along with the craft. It makes putting the spider together a little easier, especially when you’re crafting with younger kids or making several spiders for a classroom activity.
So, grab a paper plate and let’s make a spider!
What Kids Can Learn While Making Spider Crafts
Painting the plate, cutting the pieces, folding the legs, applying glue, and positioning the spider’s face all involve using those little hand muscles.
Kids are practicing fine motor skills while they’re busy creating their Halloween craft.
Making a spider is also a very easy way to sneak in a little counting practice.
Before gluing the legs down, count them together.
How many legs does the spider need altogether? How many should go on each side?
You can also talk about how spiders are arachnids and have eight legs, while insects have six.
Turn the Craft Into a Spider-Themed Lesson
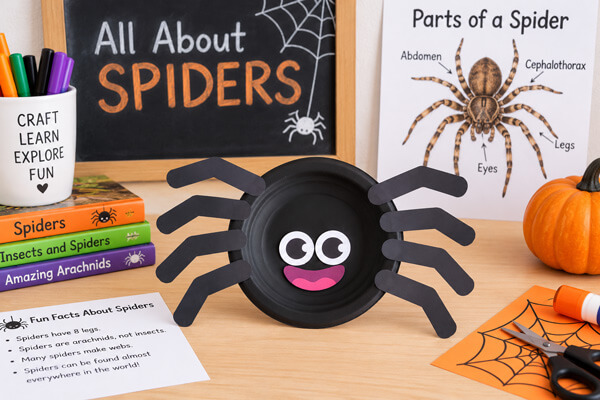
This spider craft can also fit into a simple spider or arachnid lesson.
While kids are making their spiders, talk about how many legs spiders have, where they live, and why some spiders make webs.
You could also pair the craft with a spider-themed picture book or go outside afterward to look for spiderwebs.
Materials
You only need a handful of basic craft supplies to make your spider.
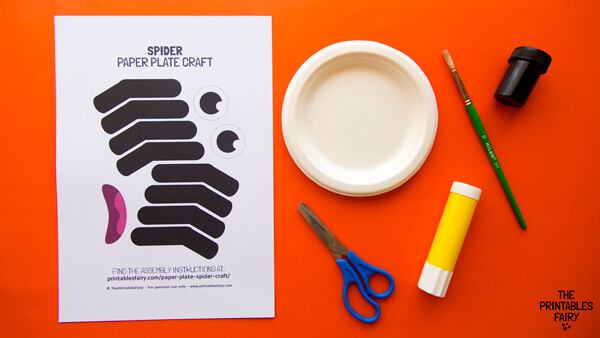
You’ll need:
- A paper plate
- Black paint
- A paintbrush
- Scissors
- Glue
- Printer
- Paper or cardstock
- My free Paper Plate Spider Craft printable
If you’re crafting with younger children, you may also want to prepare some of the pieces before you begin.
How to Make a Paper Plate Spider
Once you have your supplies and printable ready, it’s time to start crafting!
You can complete some of the preparation ahead of time if you’re working with very young children, or let older kids do more of the steps themselves.
Step 1: Paint the Paper Plate Black
Start by painting the paper plate black.
Cover the entire front of the plate with paint, including around the edges. Depending on the paint you use, you may need to add another coat to get a nice, solid black color.
Set the plate aside and let it dry completely before adding anything else.
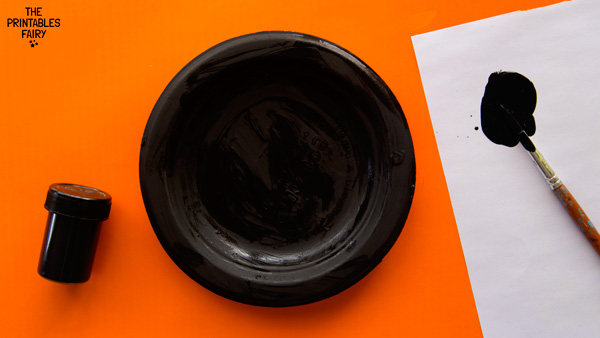
If you’re making this Paper Plate Spider Craft with a classroom or large group, you could paint the plates ahead of time or get black paper plates instead.
Step 2: Print and Cut Out the Spider Template
While your paper plate is drying, print the free spider template.
Carefully cut out the pieces you’ll need for your spider.
Older kids may be able to cut everything out themselves, while younger children might need a little help with some of the smaller pieces.
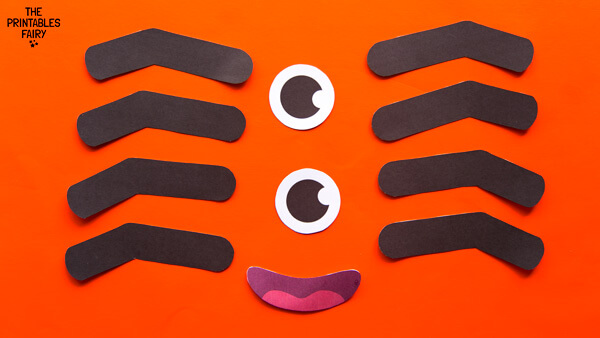
* I’ve included two different sizes of the Paper Plate Spider template so you can choose the one that works best with the paper plates you have. The smaller version is perfect for 6- or 7-inch paper plates, and it’s the size we used to make the craft you see here. If you’re using larger plates, the bigger template is designed to fit 9- or 10-inch paper plates. Just pick the version that matches your plate size, print it out, and you’re ready to start crafting!
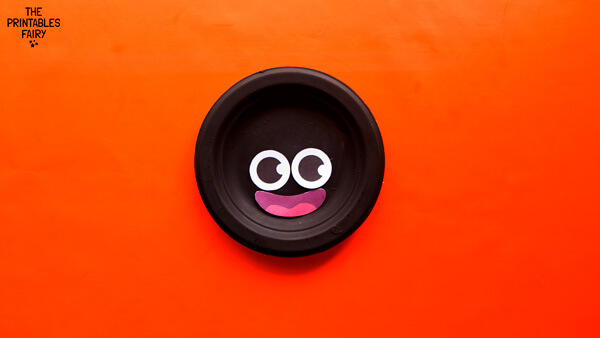
Step 3: Add the Spider’s Face
Now for my favorite part: giving the spider its silly face!
Glue the mouth toward the lower part of the plate.
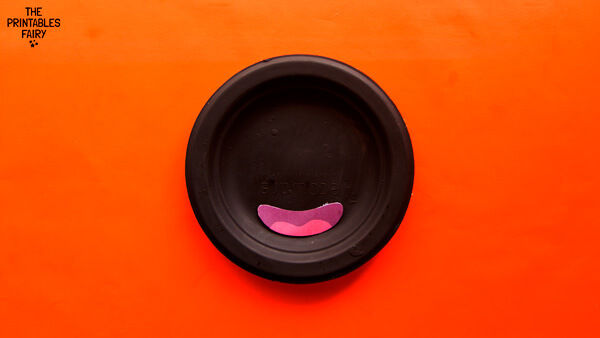
Then, glue the eyes right above it.
Step 4: Attach the Spider Legs
Arrange four legs along one side of your paper plate and another four along the opposite side.
Before gluing, move them around until you’re happy with their positions.
Then glue each leg onto the plate.
You may want to let the glue dry for a few minutes before moving the spider around so the legs don’t slide out of place.
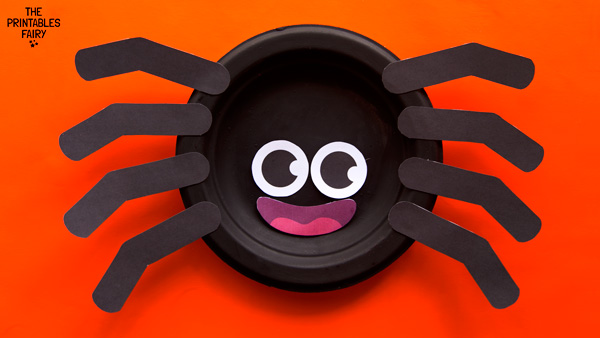
And that’s it!
Your Spider Paper Plate Craft is ready to join your Halloween decorations.
If you like saving your kids’ crafts, you can also write their name and the year on the back of the plate before displaying it.
Ways to Customize Your Spider Paper Plate Craft
The printable makes it easy to recreate my spider, but that doesn’t mean every spider has to look the same.
In fact, this is one of those spider crafts where changing a few little details can create a completely different character.
Create Different Spider Faces
Try moving the eyes around to create different expressions.
You could make a surprised spider, a sleepy spider, or a spider with very silly crooked eyes.
Kids could also draw their own mouths instead of using the one from the printable.
And if you want to talk about real spiders while crafting, you could even challenge kids to make a spider with eight eyes!
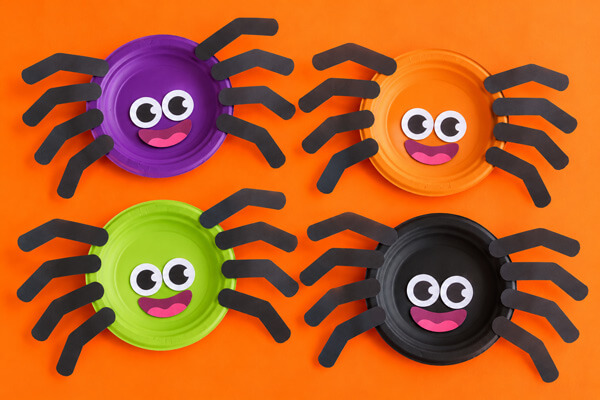
Try Different Spider Colors
Who says Halloween spiders have to be black?
Try painting the paper plate purple, green, orange, or any other color your child likes.
You could even make several spiders in different colors and display them together.
This is a particularly fun idea when you’re making the craft with a group because everyone can create their own version.
Add Extra Halloween Decorations
Want to make your spider a little fancier?
Kids could decorate their Paper Plate Spider with Halloween stickers, glitter glue, paper shapes, or other craft supplies you already have at home.
You could also create a paper spiderweb for your finished spider to sit on.
Create a Halloween Spider Display
Don’t hide all those cute spiders away when you’re finished!
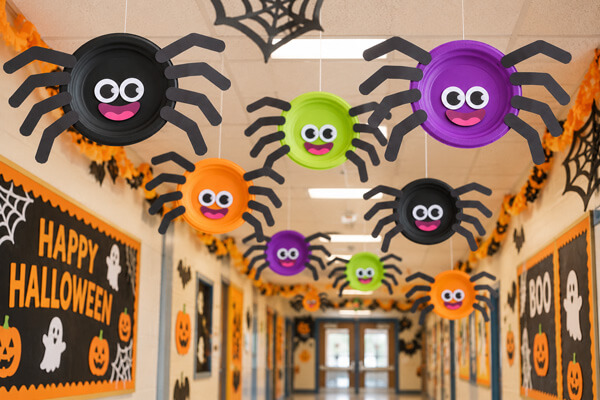
Turn them into an easy classroom Halloween display instead.
Make a giant paper spiderweb on a bulletin board and place each child’s spider around it. You could also arrange the spiders on a classroom door or along a hallway.
Seeing all the different faces together would make such a fun Halloween display!
Another idea is to attach a piece of string to your spider so you can hang it up.
Kids might also want to use their spiders for pretend play before you turn them into decorations.
Download the Free Spider Craft Printable
I created a free printable to make this Spider Paper Plate Craft easier to put together.
Simply print the template, cut out the pieces, and use them to create your spider.
You can print the template on regular printer paper, but cardstock is the best option if you want the pieces to be a little sturdier.
You can grab the free printable template by clicking the link below, and then follow the steps above to make your spider!
GET THE SPIDER PAPER PLATE TEMPLATE
More Halloween Paper Plate Crafts
- Pumpkin Paper Plate Craft
- Bat Paper Plate Craft
- Witch Paper Plate Craft