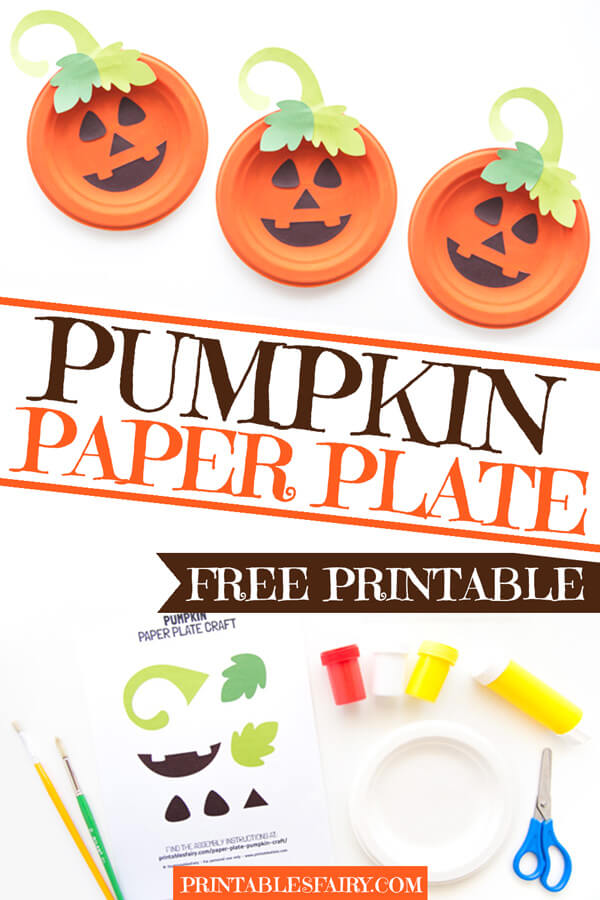
Now that autumn has officially started, we had to make a pumpkin craft. We came up with a couple of ideas, but this one has to be the easiest!
This paper plate pumpkin craft is perfect for celebrating Fall, Halloween, or Thanksgiving. You can do it at home or in school to decorate your house, bulletin boards, Halloween parties, Harvest parties, and more.
Only some simple materials would be required, and I’m sure you already have them at home (more on this below).
The best part is you can make these cute pumpkins with kids of all ages, but they were specially made with toddlers and preschoolers in mind.
Young kids might need help with the cutting but will have tons of fun painting and gluing while developing their fine motor skills.
Elementary-aged kids and older children will be able to complete this craft entirely on their own.
Sounds like the perfect craft for your little ones?
Keep reading this post!
How To Make An Easy Paper Plate Pumpkin Craft
First, I’ll show you all the supplies required to complete your pumpkin craft.
Then, you can read all the steps we followed to make our paper plate pumpkin.
And if that is not enough, you can watch a video tutorial to see how simple it is to make one of these.
Finally, you’ll be able to download the free printable pumpkin face, so your pumpkins look exactly like ours.
Materials
This easy pumpkin craft requires basic supplies:
- Pumpkin Paper Plate Template (download it at the end of this post)
- White cardstock and printer
- Paper Plate (I recommend using a 6 inches one)
- Red, yellow, and white paint; or orange paint
- Paintbrushes
- Mixing palette or any paint mixing surface
- Scissors
- Glue stick
Instructions
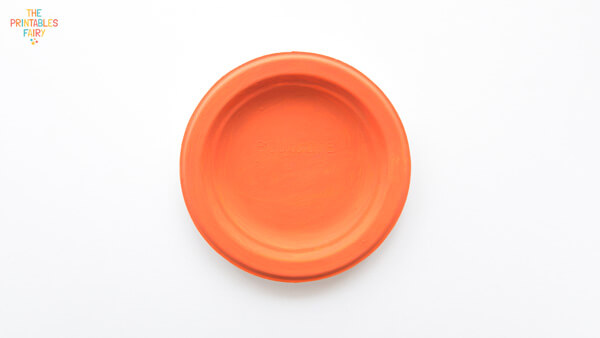
- If you don’t have orange paint like us, this is a great chance to practice some coloring mixing.
Combine your yellow, red, and white paint to create orange and paint your paper plate.
- While the plate dries, download the pumpkin face template, print it on white cardstock, and cut out all the parts.
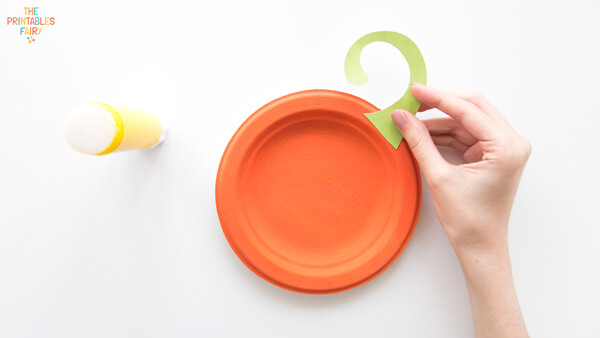
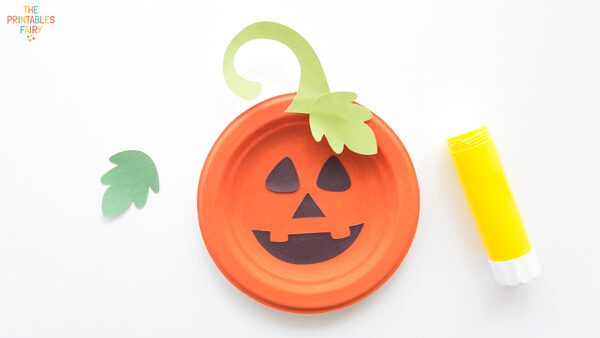
- Glue the stem on top of the paper plate.
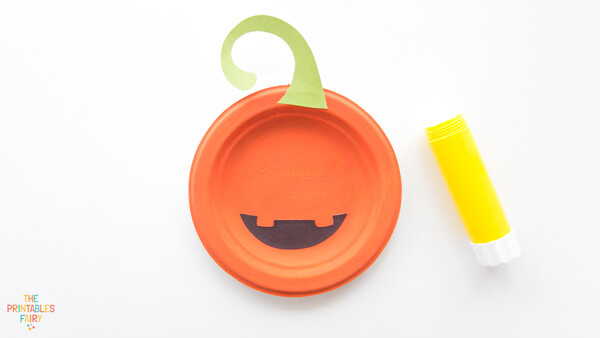
- Add the mouth to the bottom of the plate.
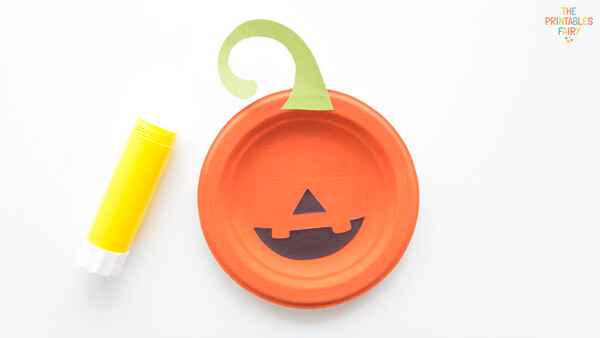
- Stick the nose above the mouth.
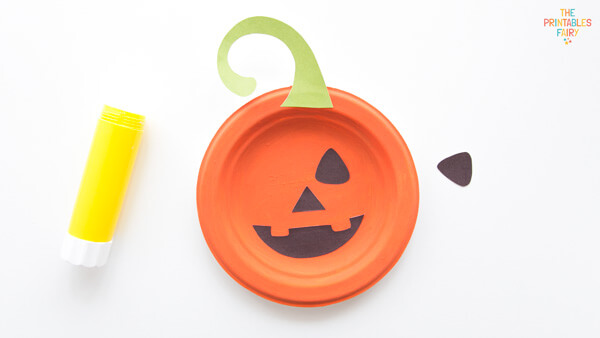
- Paste the eyes right above the nose.
- To complete your pumpkin, glue the leaves on top of the stem without covering the eyes.
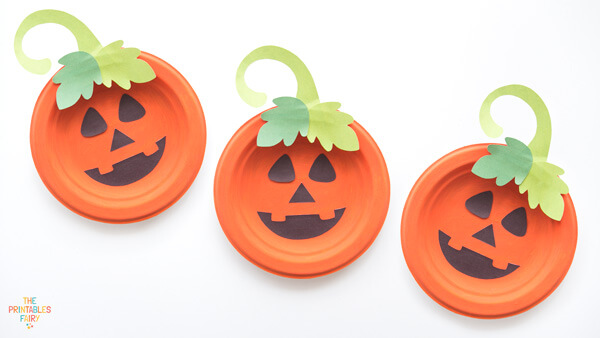
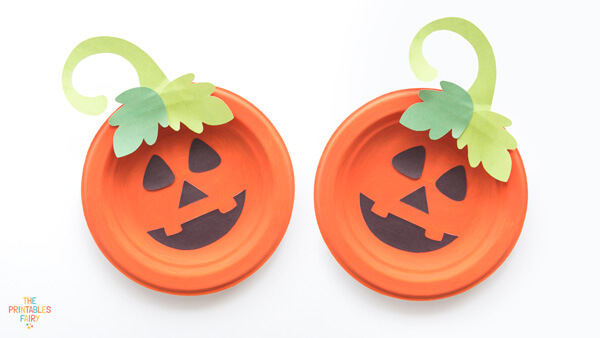
Oh my gourd! Aren’t these paper plate pumpkins so cute?
Video Tutorial
Would you rather see me making this pumpkin craft?
Then, watch this video where I show you exactly how to make it following the seven easy steps outlined above.
And don’t forget to subscribe to my Youtube Channel for more crafts for kids!
Paper Plate Pumpkin Template
I recommend making this craft on a small paper plate, but you can do it with small or big ones. Just use what you already have available.
For that purpose, I’ve included two versions of this pumpkin template. A small one for 6 or 7 inches plates, and a big one for 9 or 10 inches paper plates.
Pick and print the one that fits your plate better.
To download them, just click the link below!
GET THE PUMPKIN PAPER PLATE TEMPLATE
Did you make this pumpkin paper plate craft with your children or students?
We would love to see how it turned out! So share a picture with us on Instagram by tagging @theprintablesfairy.
*Please remember that these printables are for personal use only. You may not sell or distribute the files. If you want to share them, please link to this post and not directly to the PDF files.
More Fun Fall Crafts