If you follow my blog, you may already know that I love creating different bookmark designs for the holidays.
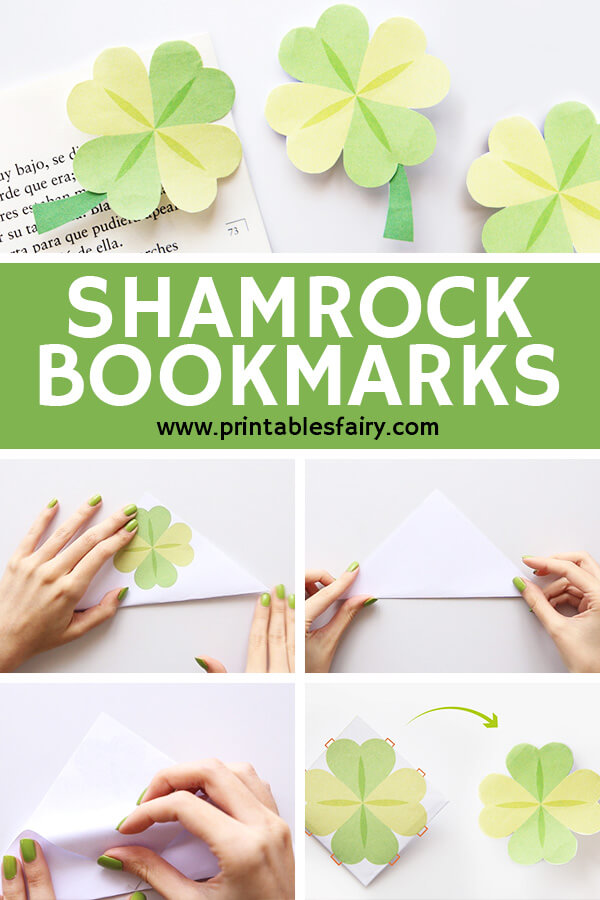
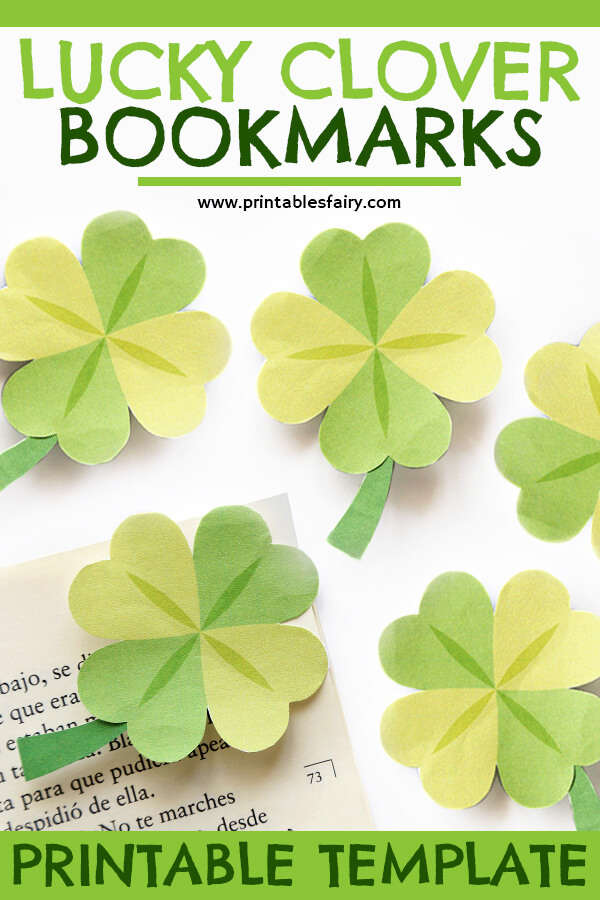
This time, in honor of St. Patrick’s Day, I decided to make these Shamrock corner bookmarks.
They are super easy for kids to make. All they need is cutting skills and the printable template, which you can get here or at the end of this post.
I know shamrocks only have three leaves, but the fourth leaf is where we get the luck from, so I decided to include it. You can still cut the 4th leaf out if you want your traditional Irish shamrock.
Your kids can craft a shamrock corner bookmark and gift it to their Irish grandparents and friends.
They also look lovely as party decorations that guests can take home when the celebration ends. We all have books where these can be useful, right?
Let’s make your own lucky charms!
How to Make a Shamrock Corner Bookmark
As usual, I’ve included step-by-step photo instructions that you can review at your own pace, along with a video tutorial that shows you how I folded one of these lucky clovers.
Materials
To make these clover bookmarks, you’ll need:
- Shamrock Bookmark Template (get it here or at the end of this post)
- White paper
- Printer
- Scissors
- Glue
Instructions
- Print and cut the template. Set the stem aside.
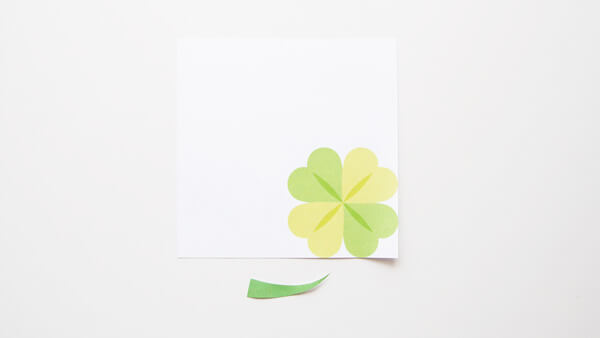
- Start by folding the square diagonally into a triangle. Make sure that the clover illustration stays on top.
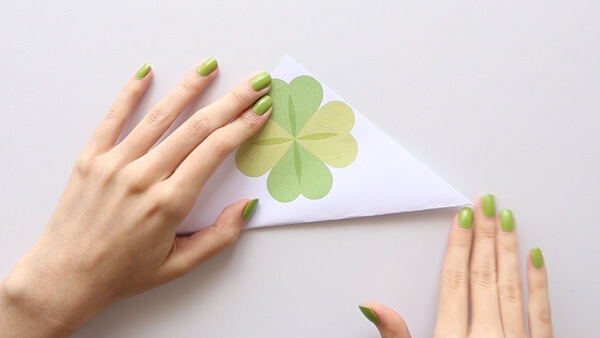
- Flip the triangle over.

- Take one corner of the triangle and fold it towards the top. Repeat with the other corner. Crease well and unfold.

- Grab the top corner of the triangle, one layer only, and fold it towards the bottom to create a pocket.

- Tuck the left and right corners into the pocket.

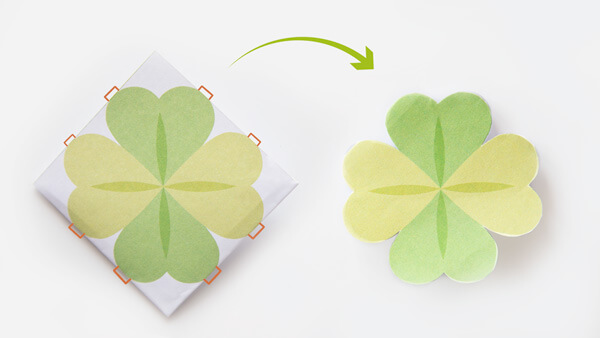
- Cut out only the white parts of the bookmark.
Make sure that it stays connected at each intersection, as indicated by the red marks in the picture below. If you cut over these edges, the bookmark will fall apart.
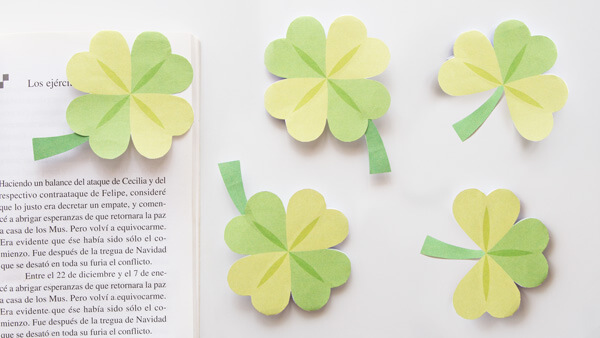
- If you want a four-leaf clover, go ahead and glue the stem right under one leaf to complete your bookmark.
If you want a traditional shamrock, cut out the fourth leaf and add the stem.
Ready to get lucky?
Save your place with your new shamrocks and clovers.
Shamrock Bookmark Video Tutorial
Are you more of a visual learner?
Take a look at this video tutorial and learn how to fold this 4 leaf clover.
Clover Bookmark Template
Ready to make these DIY shamrock bookmarks?
Get the template by clicking the link below and enjoy this fun craft!
GET PRINTABLE BOOKMARK TEMPLATES
*Please remember that these printables are for personal use only. You may not sell, share, or distribute the files.
Other St. Patrick’s Day Bookmarks