This Rainbow Corner Bookmark is the perfect craft to make with your kids to welcome Spring into your home or to celebrate St. Patrick’s Day.
This is a fantastic project for your children to exercise their hand muscles and their scissor skills.
It is also very inexpensive, simple, and mess-free!
You can use it to introduce the science behind rainbows or to talk about colors.
It can also be used to start a conversation about diversity. Each color is different from the other, but they are all vibrant and part of a bigger beautiful thing.
Use them as a resource to motivate your kids not to give up when things get more challenging. You know, no rainbow comes without rain.
Or, simply craft them to commemorate the Irish St. Patrick’s celebration.
Regardless of what you choose to do with these bookmarks, they will end up bringing happiness to your kids’ reading time.
They come with kid-friendly directions and a printable template that will make the crafting process even easier to set up.
Are you ready to bring color into your books?
How to Make Rainbow Corner Bookmarks
As usual, I included the DIY Rainbow Corner Bookmark video tutorial and also the step-by-step written instructions for you to fold these origami bookmarks.
Video: DIY Rainbow Bookmark
List of Supplies
- White Paper
- Printer
- Scissors
- Glue Stick
- Printable Rainbow Bookmark Template (Get it here or at the end of the post!)
Instructions
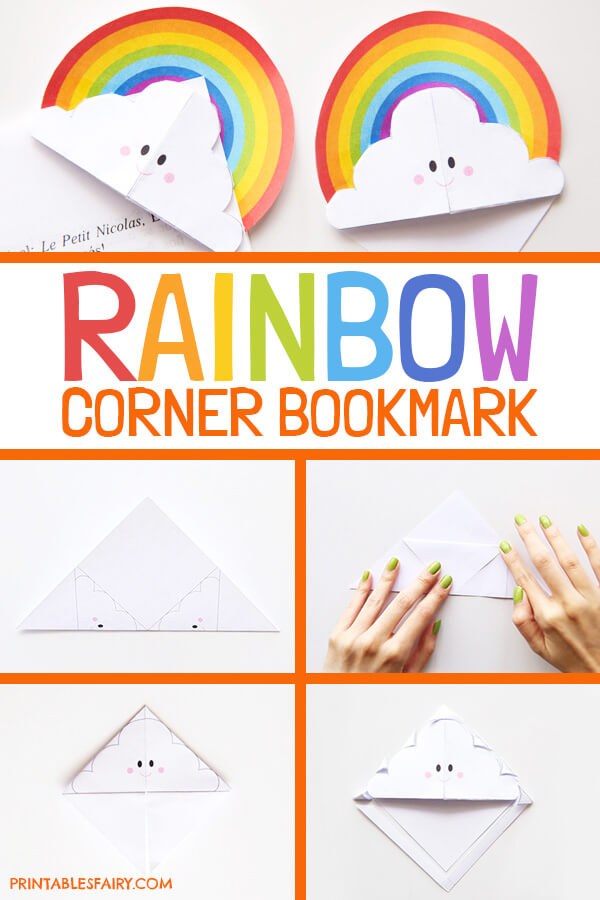
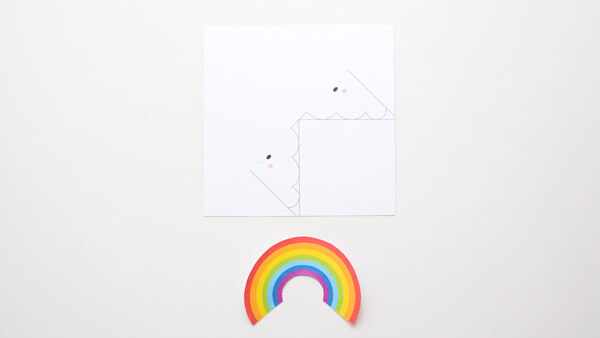
- To make the rainbow bookmark, print and cut the template.
- Set the rainbow aside and fold the square into a triangle. Make sure to leave both sides of the cloud on top.

- Turn your triangle over and fold the top tip of the front layer to the bottom. This will create a little pocket.

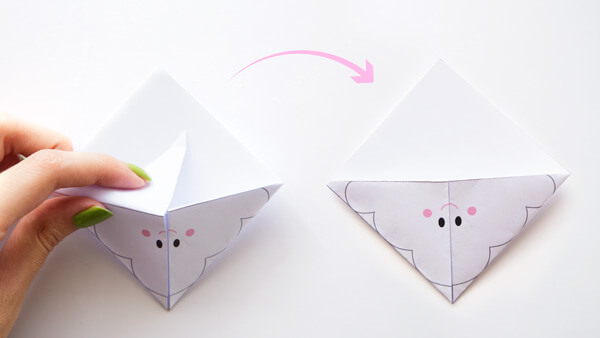
- Grab the left and right corners of the triangle and bring them to the top.

- Tuck each corner into the pocket and flatten your bookmark.
- Cut out the shape of the cloud. Make sure not to cut all the way through the edges (even if some don’t look rounded), or your bookmark will fall apart.
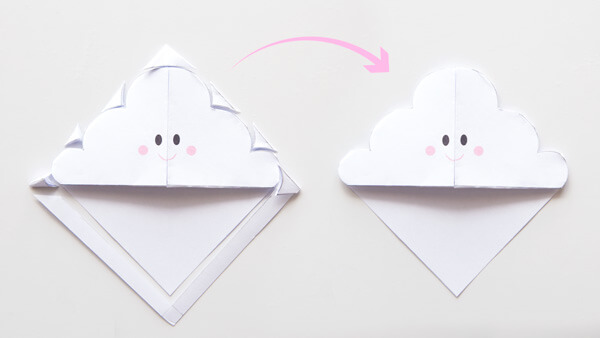
- Finally, glue the rainbow behind the cloud to complete the bookmark.

Your rainbow bookmark is ready to bring magic to your books!
P.S. If you are looking for gold at the end of the rainbow, you can find it in the Pot of gold bookmarks.
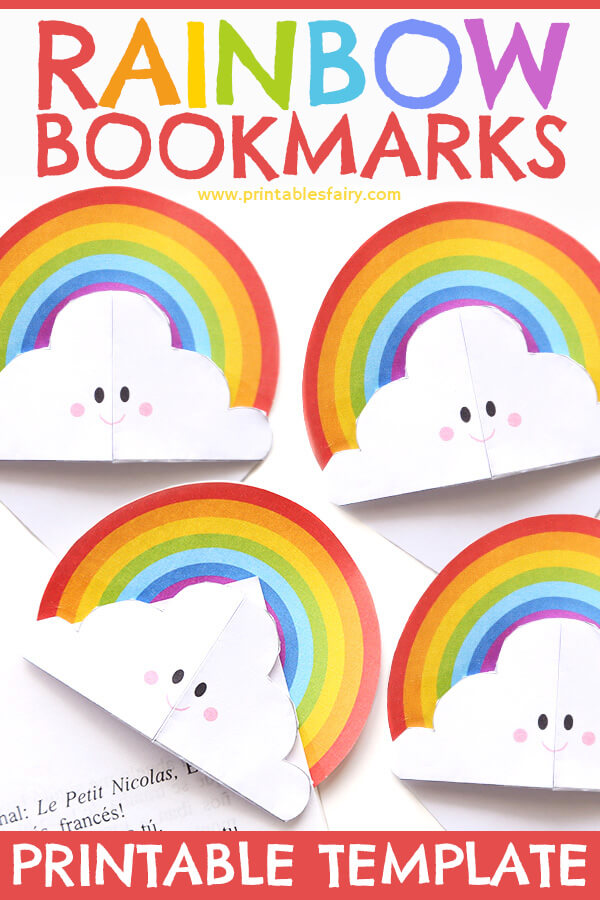
Rainbow Bookmark Template
Don’t wait any longer!
Get your printable template, grab your supplies, and let the fun begin!
*Please remember that these printables are for personal use only. You may not sell, share, or distribute the files.
Other DIY Spring Bookmarks