Ready for another cute bookmark?
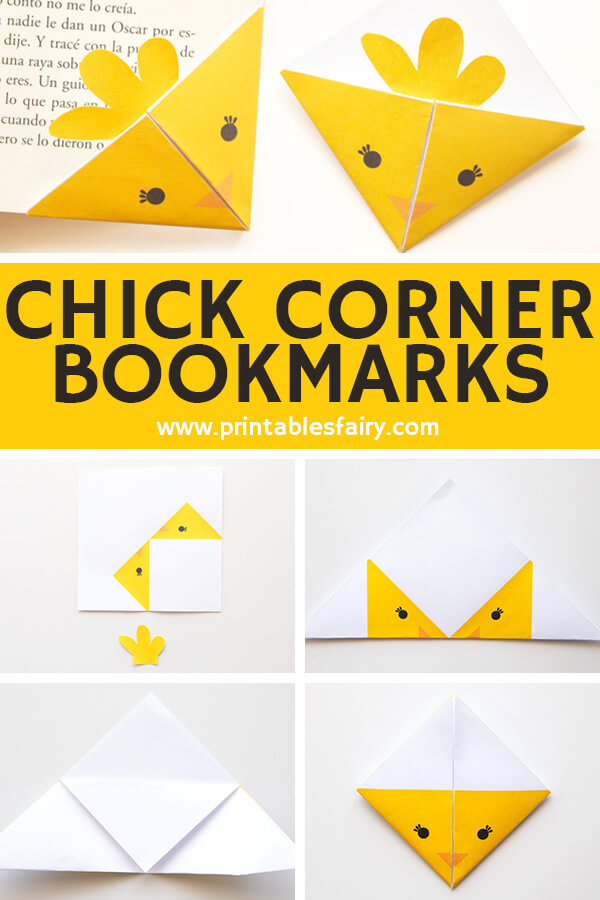
Make this chick corner bookmark to keep your Easter reads on fleek!
You can craft these adorable bookmarks during Spring break, as they follow a super-simple folding technique that is perfect for getting kids started into origami.
Folding corner bookmarks is also a great way to encourage reading. And in the end, your kids can use them in their favorite books.
On top of that, it can be a fun addition to your Easter baskets. Kids will get excited to make them, and you can reduce the number of sweets you throw in.
It’s a win-win if you ask me!
In this post, you will find instructions to make this corner bookmark with our printable template. We like using templates because it’s easier and requires less prep time.
Before you can peep, let’s get into this compre-hen-sive tutorial and start making these bookmarks!
How to Make a Chick Corner Bookmark
To make the chick corner bookmarks, follow the step-by-step photos below, or scroll down to find the video tutorial.
The materials we used are:
- Chick Bookmark Template (available here or at the bottom of the post)
- Paper and printer
- Scissors
- Glue
Step 1: Print the chick bookmark template
Start by getting the printable template and printing it on regular white paper.
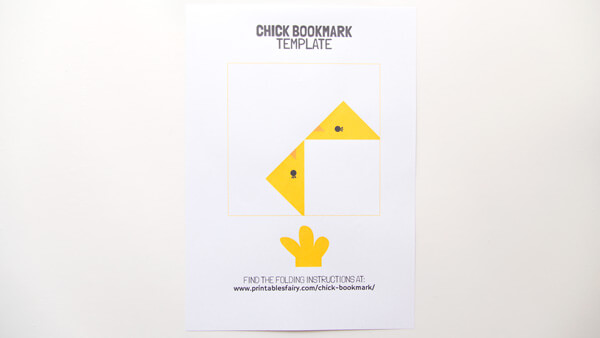
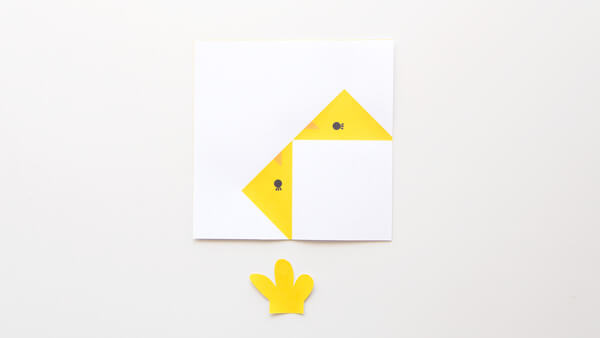
Step 2: Cut out the template
Cut out the bookmark template. Set the feathers aside and keep the square.
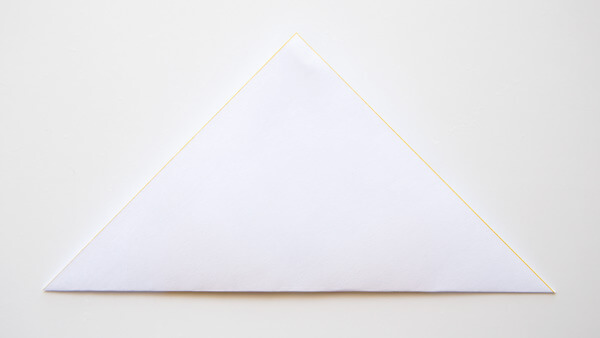
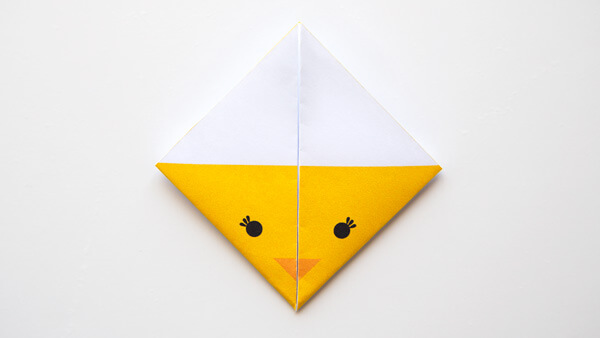
Step 3: Fold in half
Fold the square paper diagonally. Make sure the chick’s face is on the top side of the triangle.
Step 4: Flip over
Turn the triangle over to have the chick facing down.
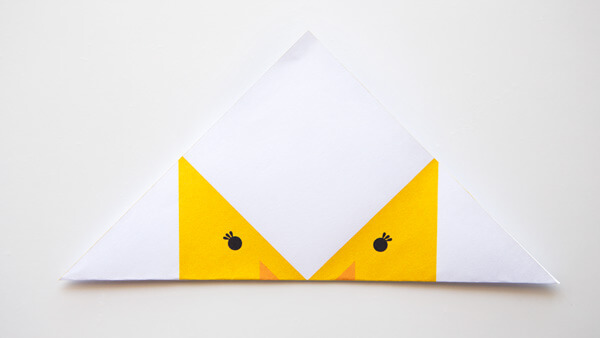
Step 5: Fold the lateral corners
Fold both corners of the triangle towards the top, as shown in the photo below.
Step 6: Fold the top corner
Unfold both corners to return to step 4 and fold the top corner of the top layer down.
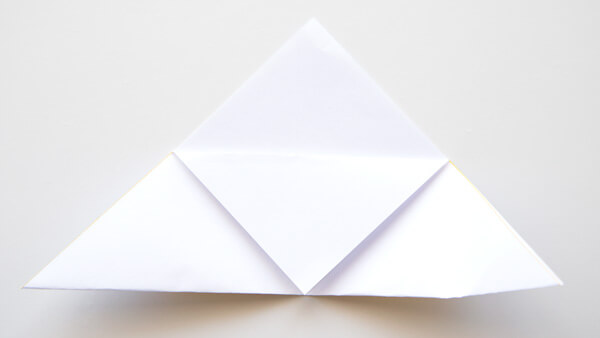
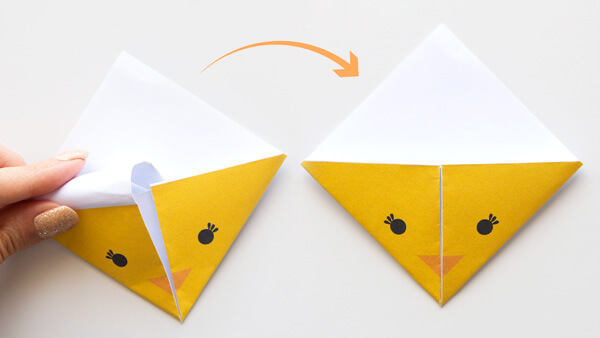
Step 7: Fold corners into the pocket
Fold the left and right corners inside the pocket created in the previous step.
You have made the chick’s face!
Step 8: Glue the feathers
Take the feathers and glue them behind the face to complete your chick bookmark.
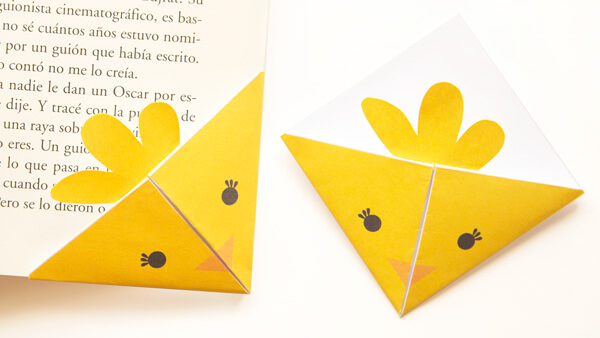
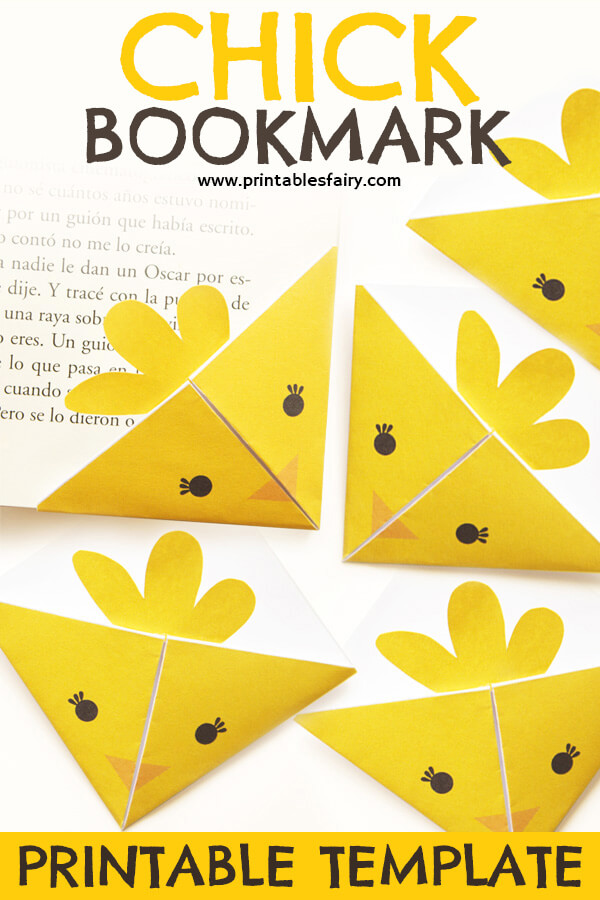
Egg-cellent! Your Chick corner bookmarks are ready to mark your pages.
Watch the Chick Corner Bookmark video tutorial
If you liked this video, make sure to Subscribe to my YouTube Channel for more fun crafts and ideas.
Chick Bookmark Template
This printable chick bookmark template is part of the Easter bookmark collection that includes 3 additional designs that you can make with your kids.
Check them all by clicking the link below!
GET THE EASTER BOOKMARK TEMPLATES
*Please remember that these printables are for personal use only. You may not sell, share, or distribute the files.
More Easter Bookmarks for Kids