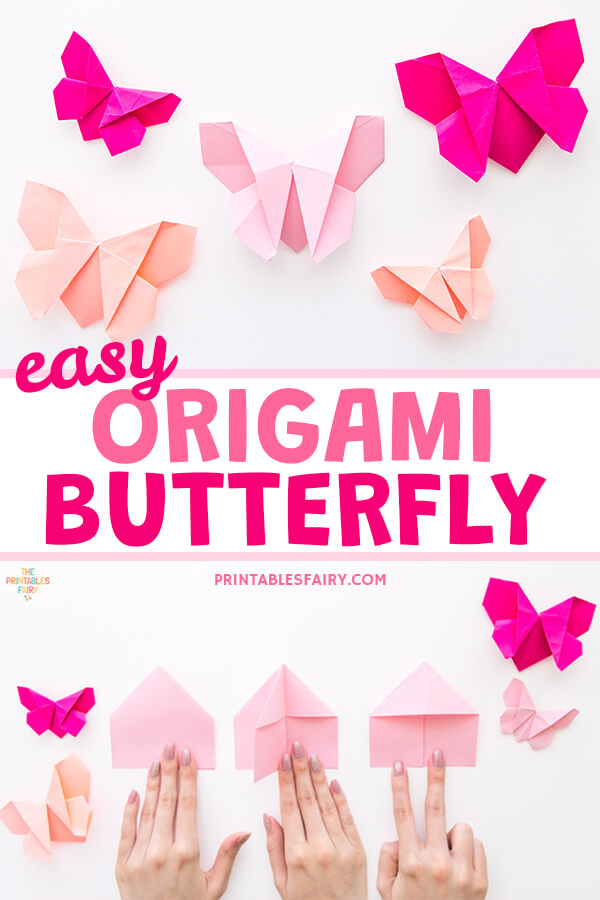
Want to learn how to make an easy origami butterfly?
You are in the right place!
After completing this cute origami frog, it was time to take it up a notch and try another animal origami, that is just as simple for both kids and adults.
In this post, I’ll show you the step-by-step instructions to fold a paper butterfly with only one piece of paper.
It is the best papercraft for elementary-aged kids or older as there are no other materials required, and it keeps them concentrated and amused for a while.
You can also try this activity with younger kids, but keep in mind that they will need assistance from an adult to make some folds.
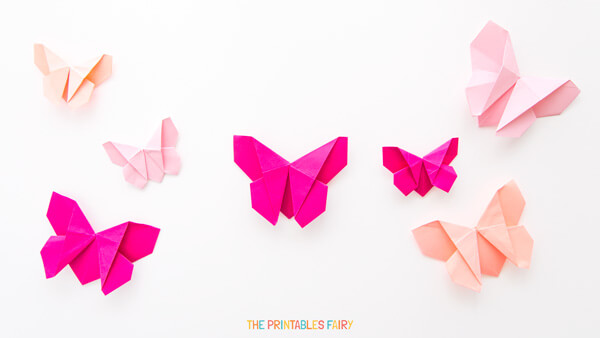
You can craft as many butterflies as you want and use them to create a garland, decorate handmade cards, or embellish scrapbooks.
You can also make them in different sizes and colors to create a backdrop, a hanging mobile, or glue them to magnets and pin things on your fridge.
Or, display them as cute ornaments and gift decorations!
Whatever use you decide to give them, I’m sure your kids will enjoy making them this Spring or Summer break!
P.S. If you like butterfly origami crafts, check out this Butterfly Corner Bookmarks.
How to Make an Easy Origami Butterfly
In this simple tutorial, I will show you how to fold your butterfly even if you are totally new to origami.
All you need is a rectangular piece of paper.
You can use regular printer paper, colored paper, origami paper, patterned paper scraps, or even newspaper. Basically, any paper works, but it’d be better if it is thin.
Now, all you have to do is follow the instructions below or watch our video tutorial (just scroll a little further to find it).
And remember, origami gets easier with practice. So, if your butterfly doesn’t look exactly like mine, just give it another go. 😉
Origami Butterfly Instructions
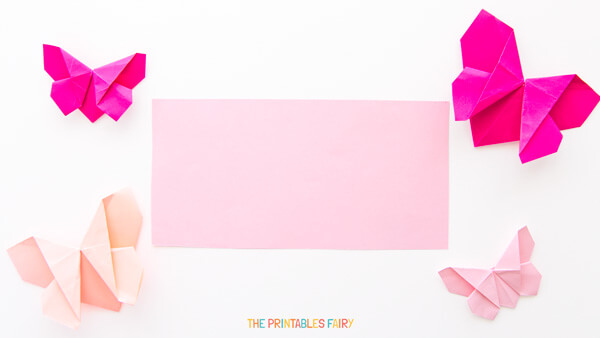
- To get started, you will need a rectangular piece of paper that is twice as long as it is wide.
In this case, my rectangle is 18 x 9 cm.
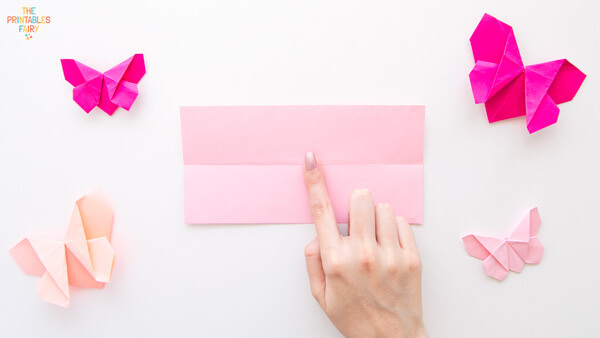
- Fold your rectangle in half horizontally.
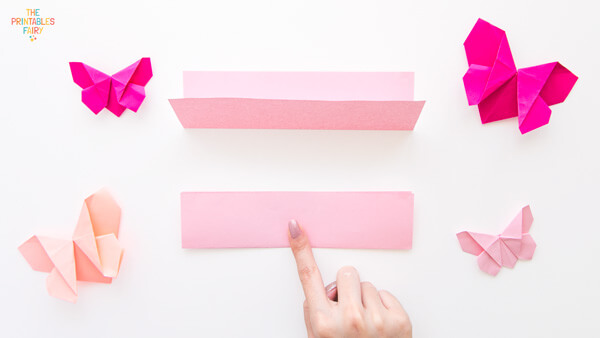
- Unfold it.
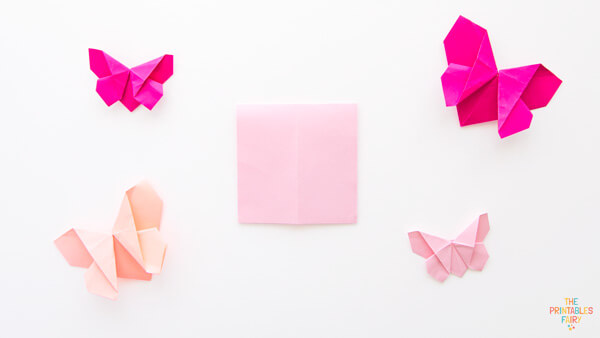
- Now, fold your rectangle in half vertically.
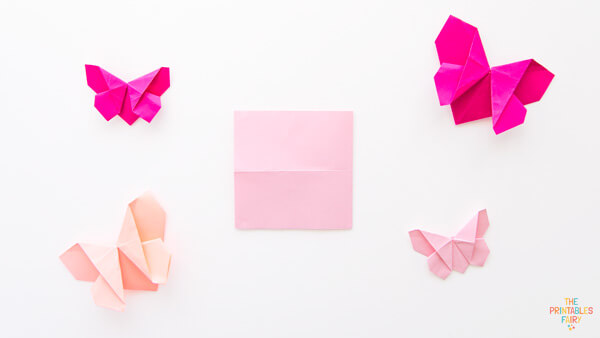
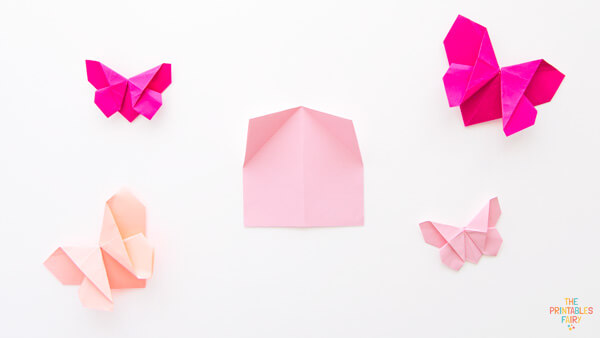
- Rotate your square with the opened side down.
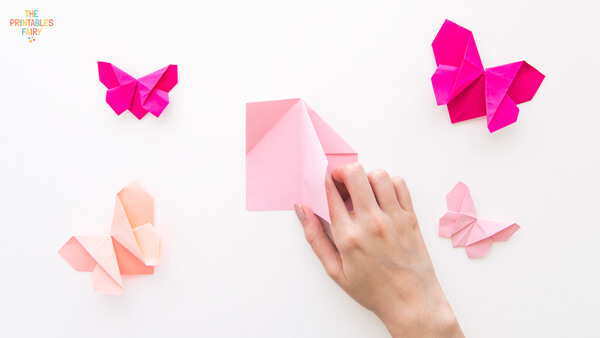
- Fold both top corners to the line in the middle.
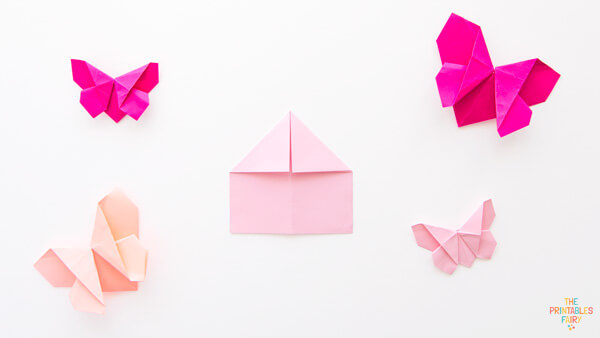
- Crease well and unfold the corners.
- Fold the corners inside.
- Turn the top-right layer to the left.
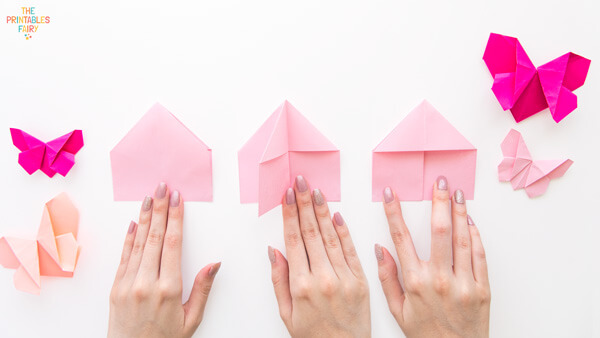
- Flip your model over and, again, bring the top-right layer to the left.
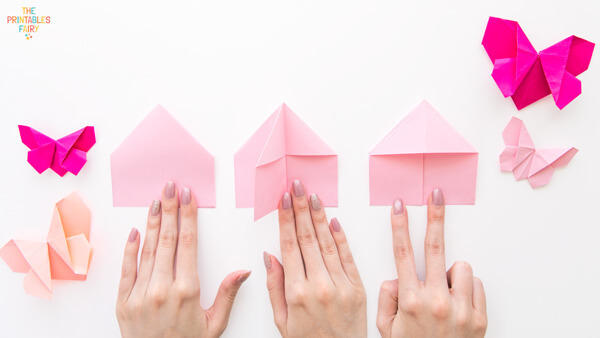
- Rotate your model 180° and bring both upper edges towards the edge of the triangle, as shown below.
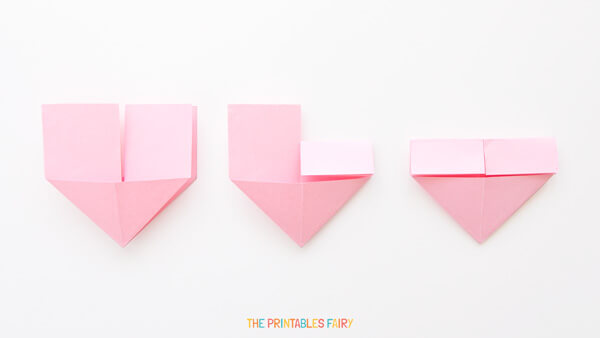
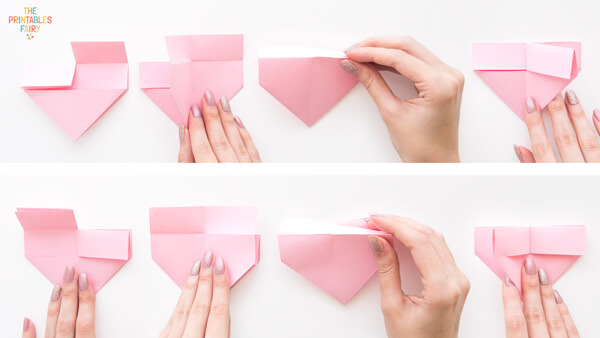
- Unfold the right size, open it, fold the top edge inwards, and close it.
Repeat with the left side.
- Eyeball around ½ cm from the top-right corner and fold from this point to the middle.
Repeat on the left side.
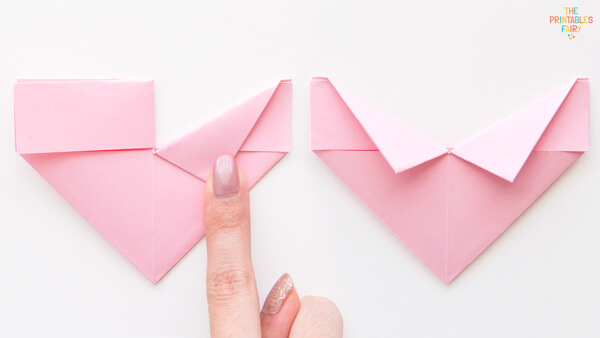
- Reverse those folds and bring them to the back. Crease well and unfold them.
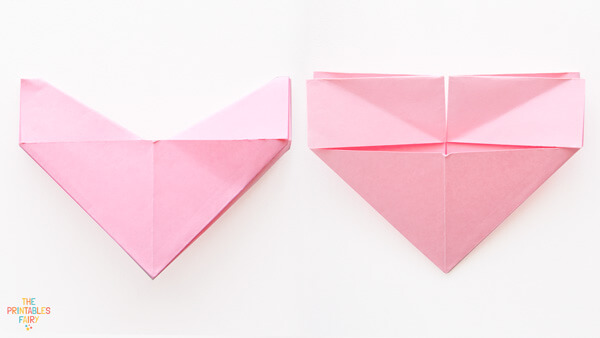
- Using the previous crease, open each side as shown here. This step can be a little tricky, so keep trying, and if you are struggling, watch the video below.
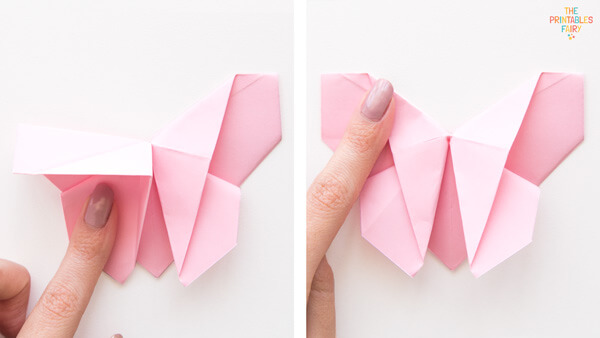
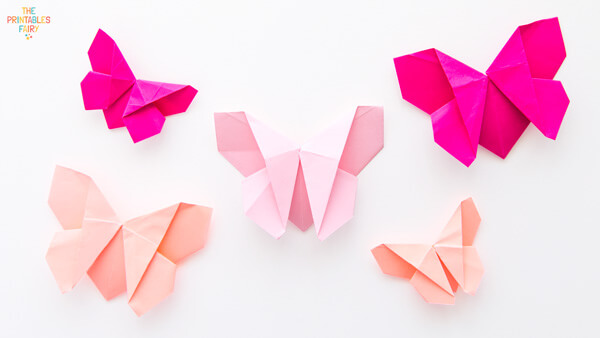
Here you have your lovely paper butterfly.
Doesn’t it make your heart flutter?
Origami Butterfly Video Tutorial
As always, I also included an origami video tutorial to teach you how to make your butterfly.
Some people find it easier to learn this way as you can pause at each step and make sure to follow every detail at your own pace.
Just remember to have lots of fun!
P.S. You can also find this tutorial on my Youtube channel. Just click here to watch it there.
* Please remember that you cannot reproduce, copy, or print the images, instructions, and videos on this post.
Hope you and your kids enjoyed this origami craft!
Don’t forget to show us your creations on Instagram by tagging @theprintablesfairy.
If you want to try more, check the ideas below:
Easy Origami Crafts for Kids
I love making these
Having each side of your origami paper in a different colour would make the tutorial even easier to follow! Cute butterfly and thanks for the instructions.:)
You are very welcome! Glad you were able to make some butterflies 🙂
Do you have a printable pdf for the butterfly origami? I am trying to make a station for students to work on spring origami.
Sorry Sarah, currently I don’t have the printable instructions available.