If you live in the northern hemisphere, this time of the year can be too cold to play outside. That can lead to bored kids asking you what to do again and again.
If electronics are not an option and you are looking for a low-cost indoor activity to keep your children busy during winter, try creating these paper snowflakes.
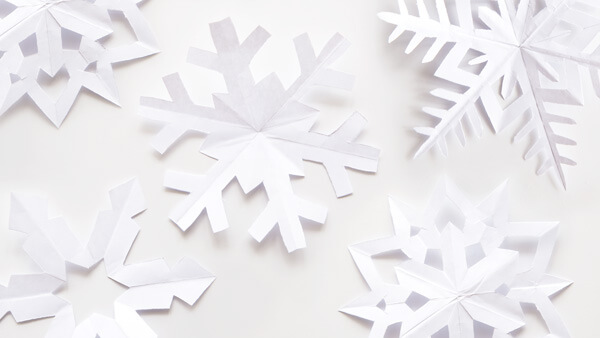
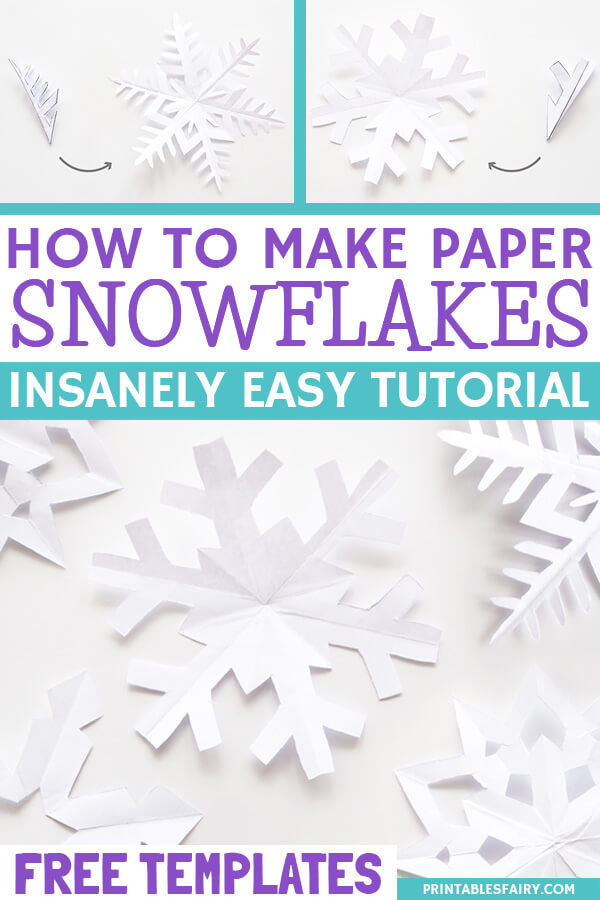
Follow this 6-steps tutorial to learn how to make your own paper snowflakes, from the folding to the cutting.
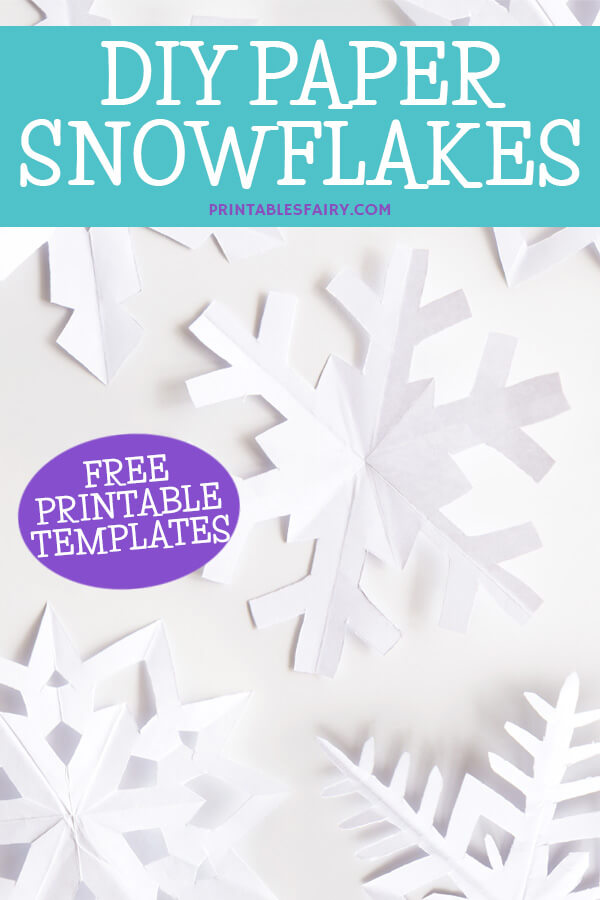
Plus, download some free printable templates at the end of the post to make the learning process even easier.
The best part of this activity is that it improves your kids’ writing skills. Cutting several sheets of paper, like this folded paper, can help your children’s hands’ muscles and joints modulate pressure. This can improve their handwriting, especially if they apply too much pressure on their pencil.
This activity also develops their imagination and critical thinking skills. They will have to come up with new designs and think of how they will look like once unfolded.
It’s a fun craft that will keep them busy for a long while.
Let’s cut snowflakes!
Materials
To make a paper snowflake, you will only need a sheet of paper, a pencil, and a pair of scissors.
If you are printing the templates, I highly recommend using lightweight paper (55gsm or 35gsm); otherwise, it might be too hard for your kids to cut through.
You can also use origami paper, wrapping paper, tissue paper, or, our personal favorite, coffee filters.
In fact, we used the following folding technique to create these colorful coffee filter snowflakes.
How to Cut Paper Snowflakes
In nature, snowflakes have six points, that’s why this folding technique will teach you how to make paper snowflakes with 6 sides.
To get you started, you can download the free printable templates at the bottom of this post.
And once you understand this folding method, you can start making your own designs.
There is also a video tutorial available right after the written instructions, in case you are having difficulties with some steps.
Let’s start folding.
Step 1: Make a paper square
Start with a square piece of paper. To cut a square from a regular sheet of paper, fold one corner down, like a triangle, and trim off the excess paper.
If you are using our printable templates, simply print and cut the outlined squares.
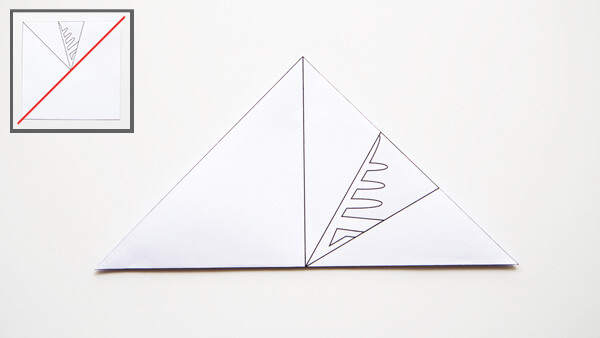
Step 2: Fold diagonally
Take your square and fold it diagonally in half to create a triangle.
Step 3: Fold in half
Fold your triangle in half to make a smaller triangle.
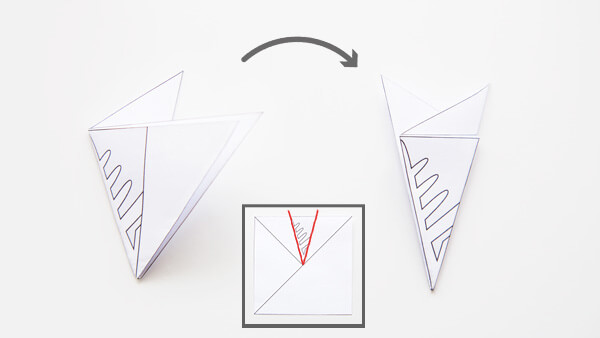
Step 4: Fold in thirds
Divide the resulting triangle into 3 equal parts. The template includes some lines to make it easier for you.
If you are not using the template, estimate the size of each section. Don’t crease the paper before the folds are perfectly aligned.
If you want to be super precise, use a protractor and measure three 30° angles.
Once you identified your sections, fold the left side towards the back and repeat with the right side.
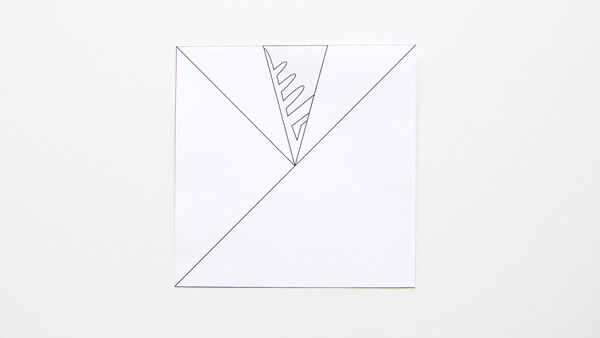
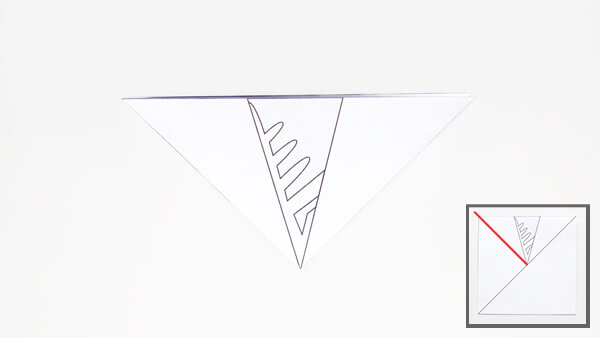
Step 5: Cut your design
Now, it is time to draw the snowflake pattern and cut it.
Make sure to leave the left and right sides connected at some point so the snowflake doesn’t fall apart when cutting.
On the templates, just cut out the gray areas.
Step 6: Unfold the snowflake
Carefully unfold your paper to reveal your snowflake.

Put them under a book for a couple of minutes to make them lay flat, or iron them at the lowest settings.
Keep in mind that if you iron them, they will become a little stiffer.
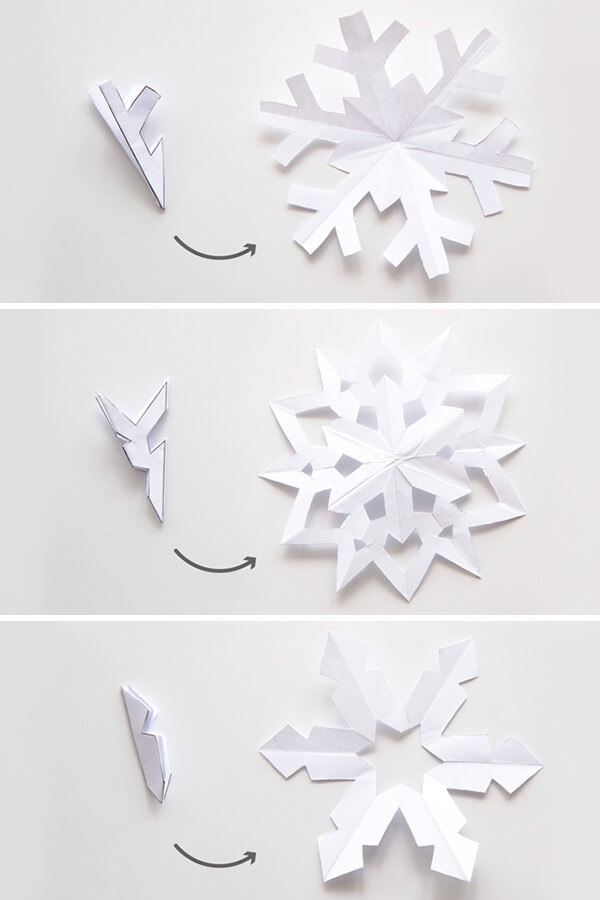
Here are more designs that you can make with the free templates:
VIDEO: How to fold paper snowflakes
If you are having trouble understanding any of the folding steps, watch the video tutorial below.
Paper Snowflake Templates
You can download the free printable templates by clicking the link below.
Don’t forget to print them on lightweight paper.
Practice how to make your first snowflakes with these templates and then start making your own creations!
DOWNLOAD PAPER SNOWFLAKE TEMPLATES
*Please remember that these printables are for personal use only. You may not sell or distribute the files. If you want to share them, please link to this post and not directly to the PDF files.
More Winter-themed Activities:
cute! Thank you
Do you have a suggestion for saving them? My son made some beautiful ones, with scenes, words…etc. He recently passed and I would like to preserve them. Couldn’t laminate them. Too complex to cut out the pieces… any ideas? thanks.
Hi Sharan
I’m so sorry for your loss. God bless you and your family.
I think you could frame them, something like this https://www.pinterest.com/pin/401383385543251603/ or this https://www.pinterest.com/pin/9570217946324407/, or put them into a little glass box like this https://www.pinterest.com/pin/312437292900440551/
I suggest framing them or gluing them to a colored piece of paper then laminate them.
You could mount and then frame them to display as wall art. I have some antique crocheted doilies that I have done that with. Take them to a frame shop to get some advice on how best to do that. If they are small you could display them in a large sectioned mat & frame too.