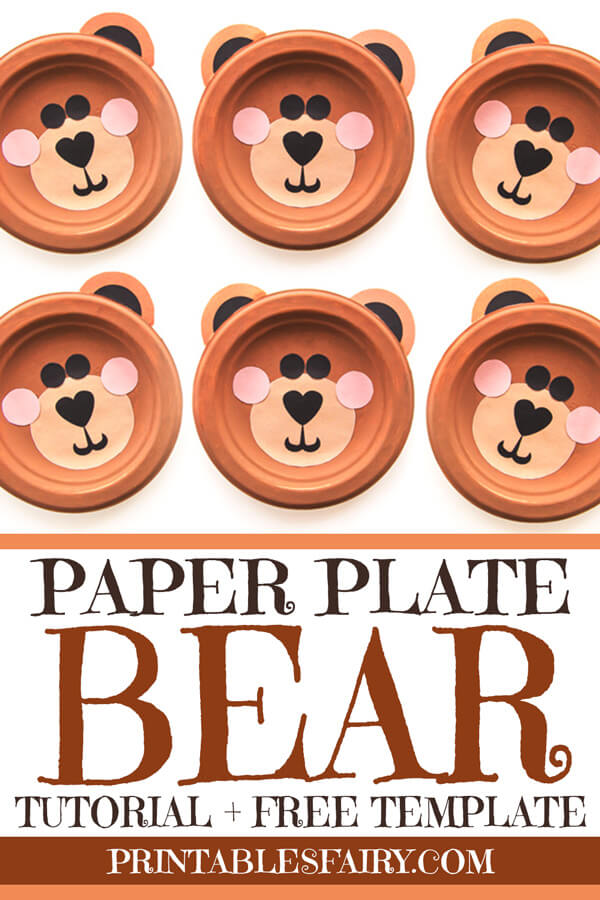
Earlier this year, we made this fun polar bear paper plate craft, and it was so easy that we decided to give it another try, this time with a different kind of bear.
This paper plate bear craft features a brown bear inspired by the “Brown Bear, Brown Bear, What Do You See?” book by Bill Martin Jr.
It’s a cute craft for those enthusiastic readers, as well as for those practicing the letter B or learning about wild animals.
It is perfect for toddlers, preschoolers, and kindergarteners. And even first and second graders can enjoy it too!
We love this craft because it helps kids improve their cutting skills, work on following directions, and develop their creativity.
And it doesn’t require special supplies; you will most likely have everything at home! Which makes it inexpensive and low prep.
There is no reason not to make this adorable bear. Let me show you how in this post!
How To Make A Paper Plate Bear Craft
This simple paper plate project incorporates many opportunities for kids to develop their fine motor skills, including cutting, gluing, and painting.
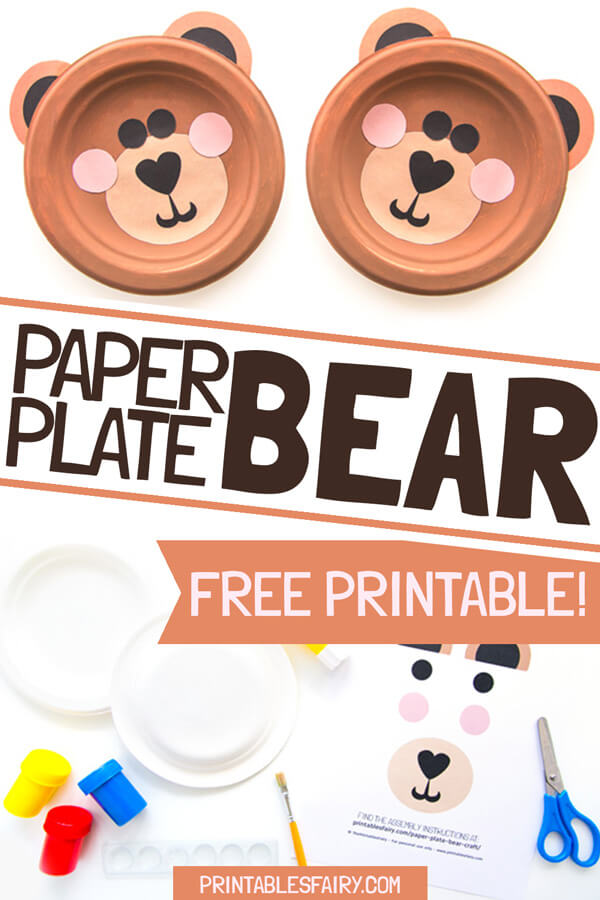
To get started, I’ll show you the full list of materials you need to complete the activity.
Then, you can follow the step-by-step instructions to assemble your brown bear, or you can watch the video and follow along.
And don’t forget to grab the free printable template at the end of this post to start crafting your own beary cute bear.
Materials
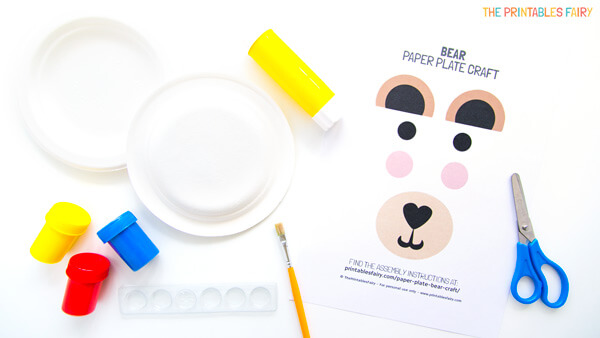
- Bear Paper Plate Craft Template (download it at the bottom of this post)
- White cardstock and printer
- White Paper Plate (we used a small one)
- Scissors
- Glue stick
- Brown tempera or acrylic paint
- Paintbrush
- Palette (optional)
Instructions
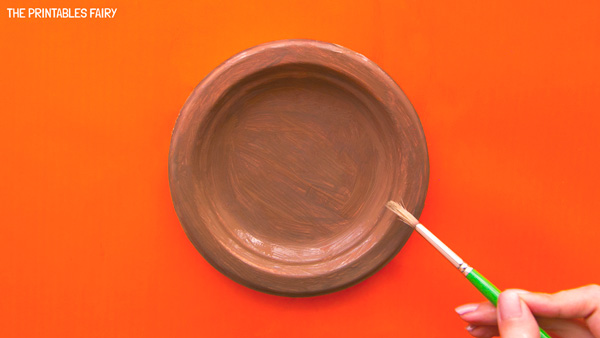
- Paint your paper plate brown. Two or more layers of paint might be necessary.
If you don’t have brown paint, you can mix red, yellow, and blue on a palette.
- While the paint dries completely, download the bear template at the end of this post and print it on white cardstock. Then, cut out all the pieces.
Keep in mind that this template comes in 2 different sizes for small and big plates, so pick accordingly.
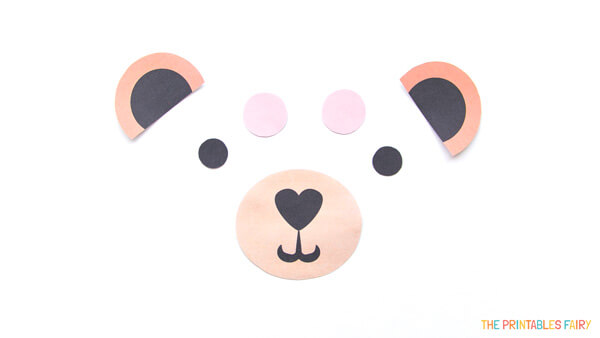
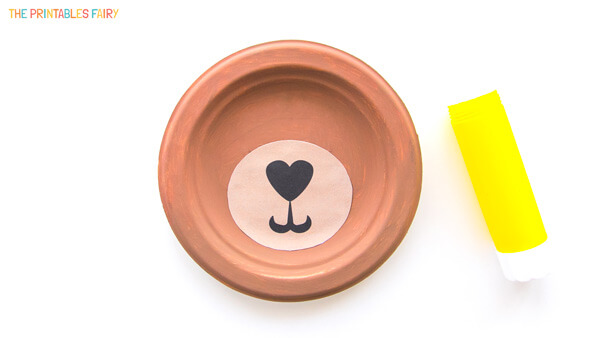
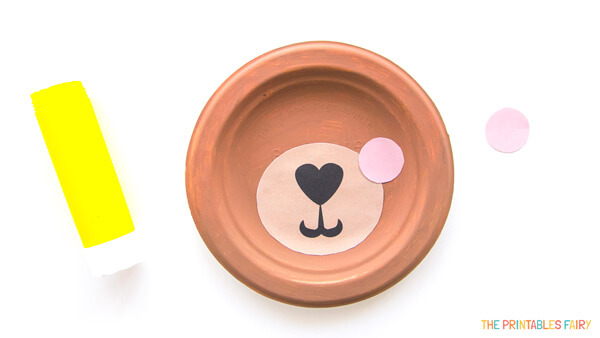
- Glue the snout in the bottom center of the paper plate.
- Then, add the cheeks slightly on top of each side of the snout.
- Stick the eyes above the snout.
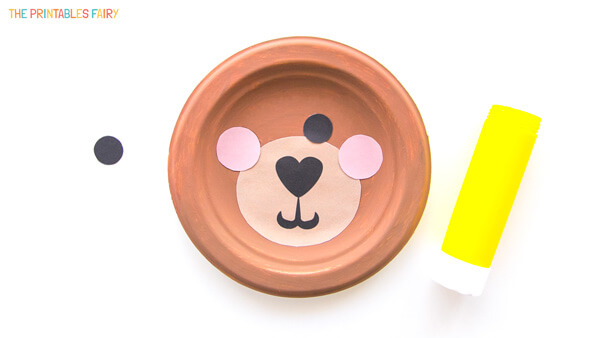
- Finally, glue the ears to the top of the paper plate.

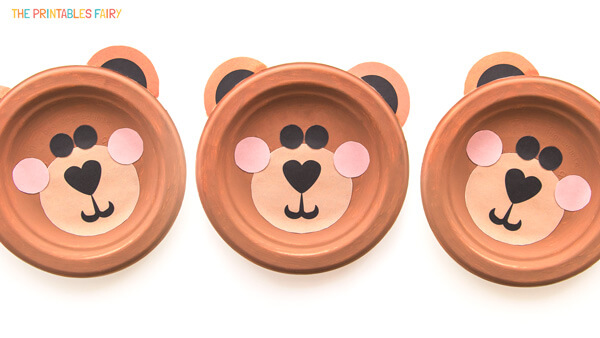
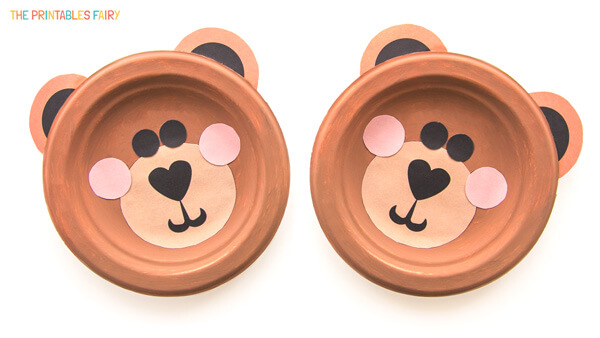
Your brown bear paper plate craft is now completed!
You can hang it from the ceiling to decorate your home or classroom. Or add a craft stick at the bottom to use it as a fun mask.
Video Tutorial
You can also watch me assemble this paper plate bear craft in the following video tutorial. Feel free to pause and replay whenever you need.
And don’t forget that you can also save it on Youtube for later!
Paper Plate Bear Template
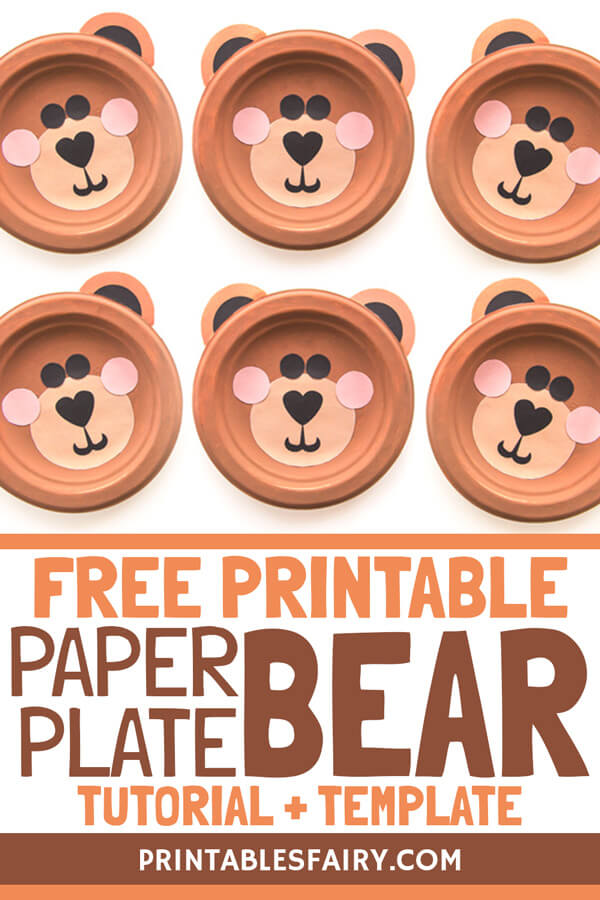
Didn’t you love this bear paper plate?
Start making your own by downloading the free template down below. Just click the red link!
This PDF is meant to be printed on A4 paper size, but you can also print it on US Letter by selecting Fit Page on your printer settings. Just keep in mind that the size of the pieces may change slightly.
Also, we recommend printing on white cardstock, but you can also use regular white paper.
And last but not least, don’t forget to have fun and enjoy your crafty time. Even if your project doesn’t look exactly like ours, I’m sure it will be beautiful!
Don’t forget to share your pictures with us on Instagram by tagging @theprintablesfairy.
GET THE BEAR PAPER PLATE TEMPLATE
*Please remember that these printables are for personal use only. You may not sell or distribute the files. If you want to share them, please link to this post and not directly to the PDF files.
More Fall Activities